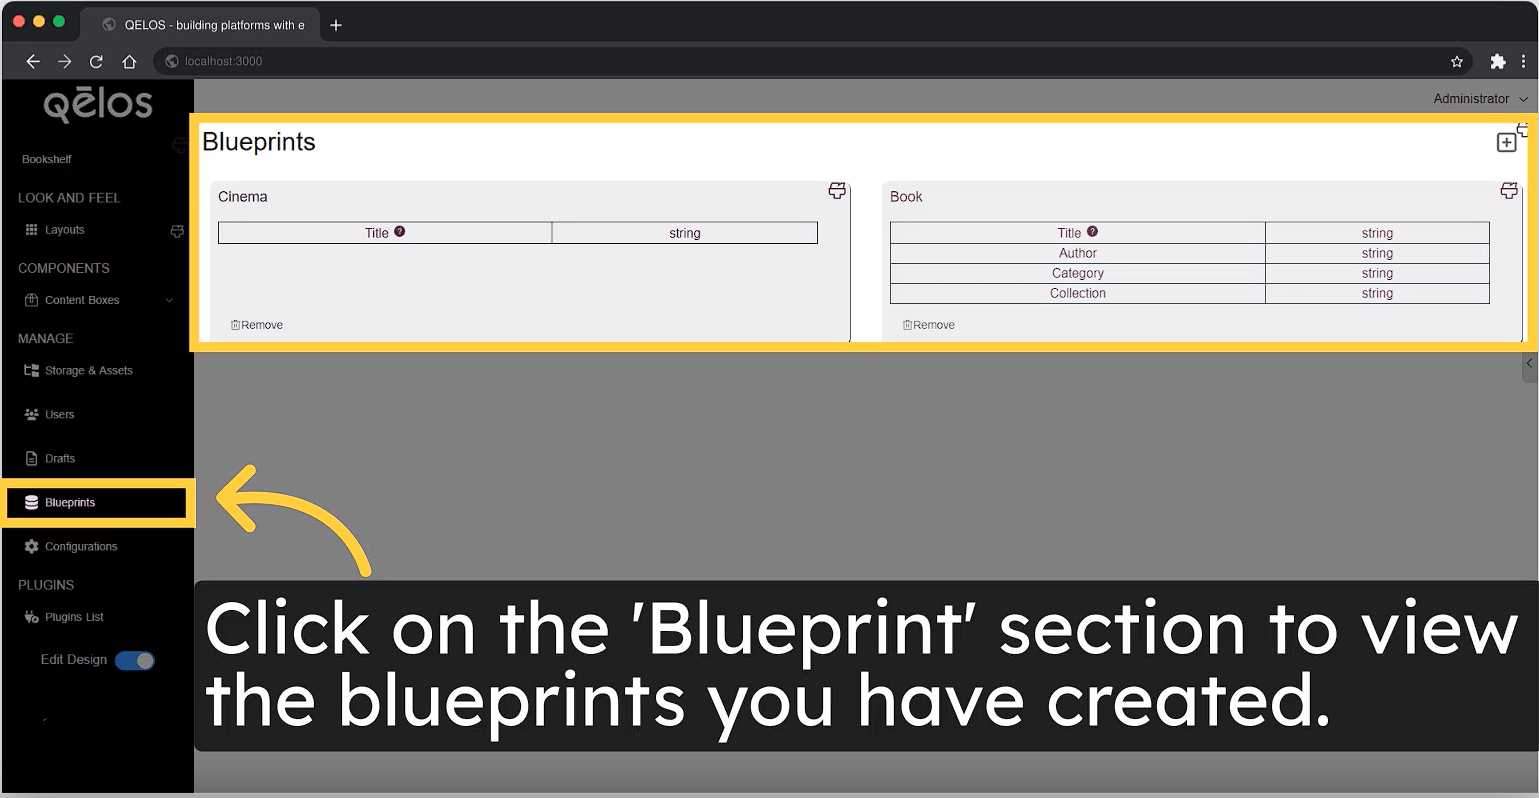
Creating and Managing Blueprints

Purpose of Blueprints
Blueprints are templates or schemas that define the structure, fields, and behavior of different data objects within your system. They allow for the creation, management, and validation of data entries, ensuring consistency and control over the information stored in the database.
Step-by-Step Instructions
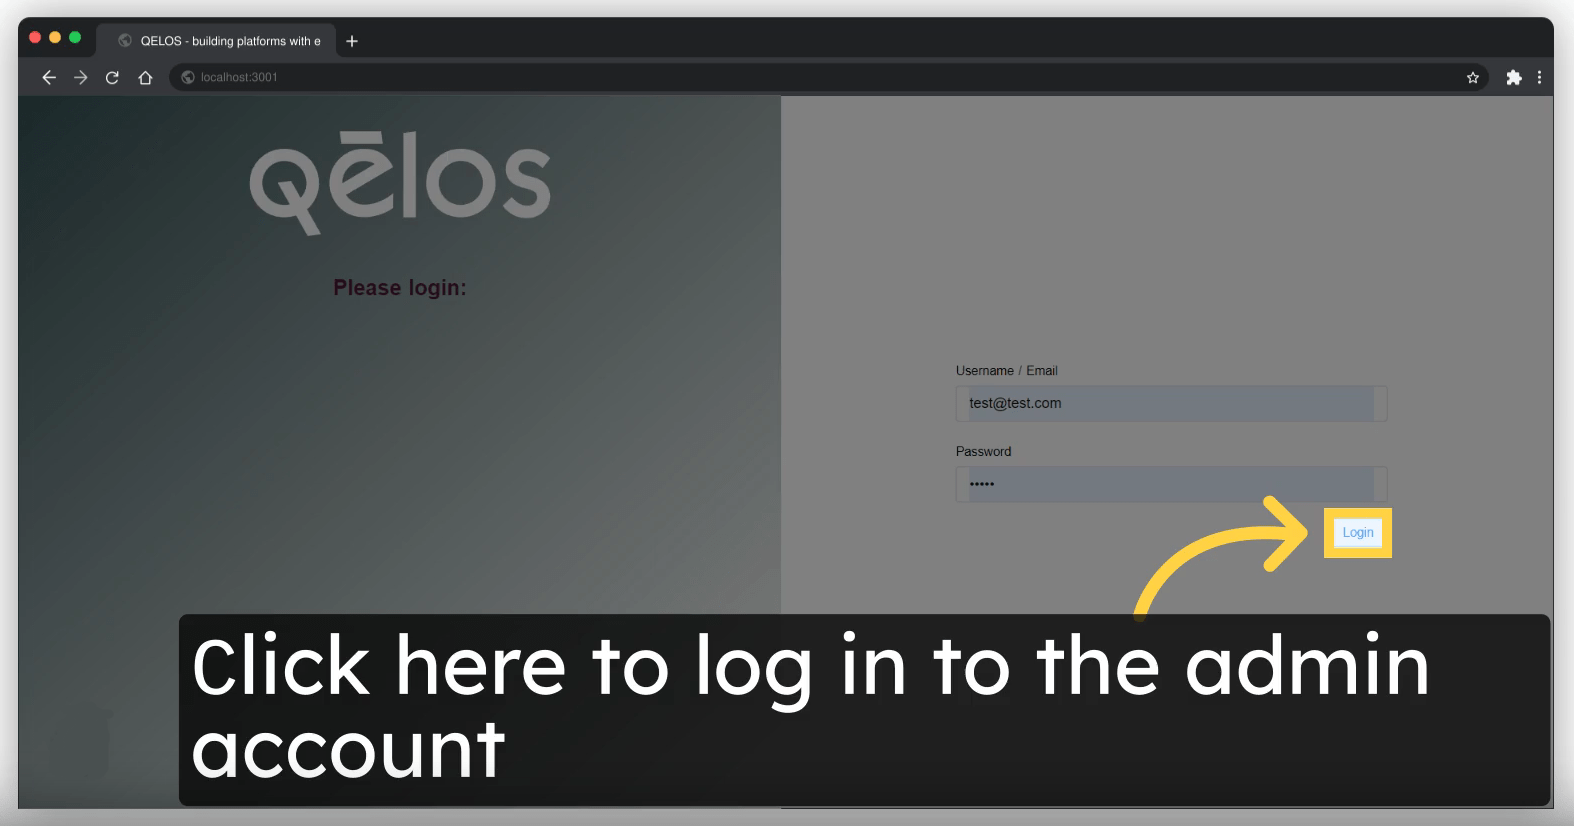
1. Login to the Platform
- Access the platform and log in with your admin credentials.
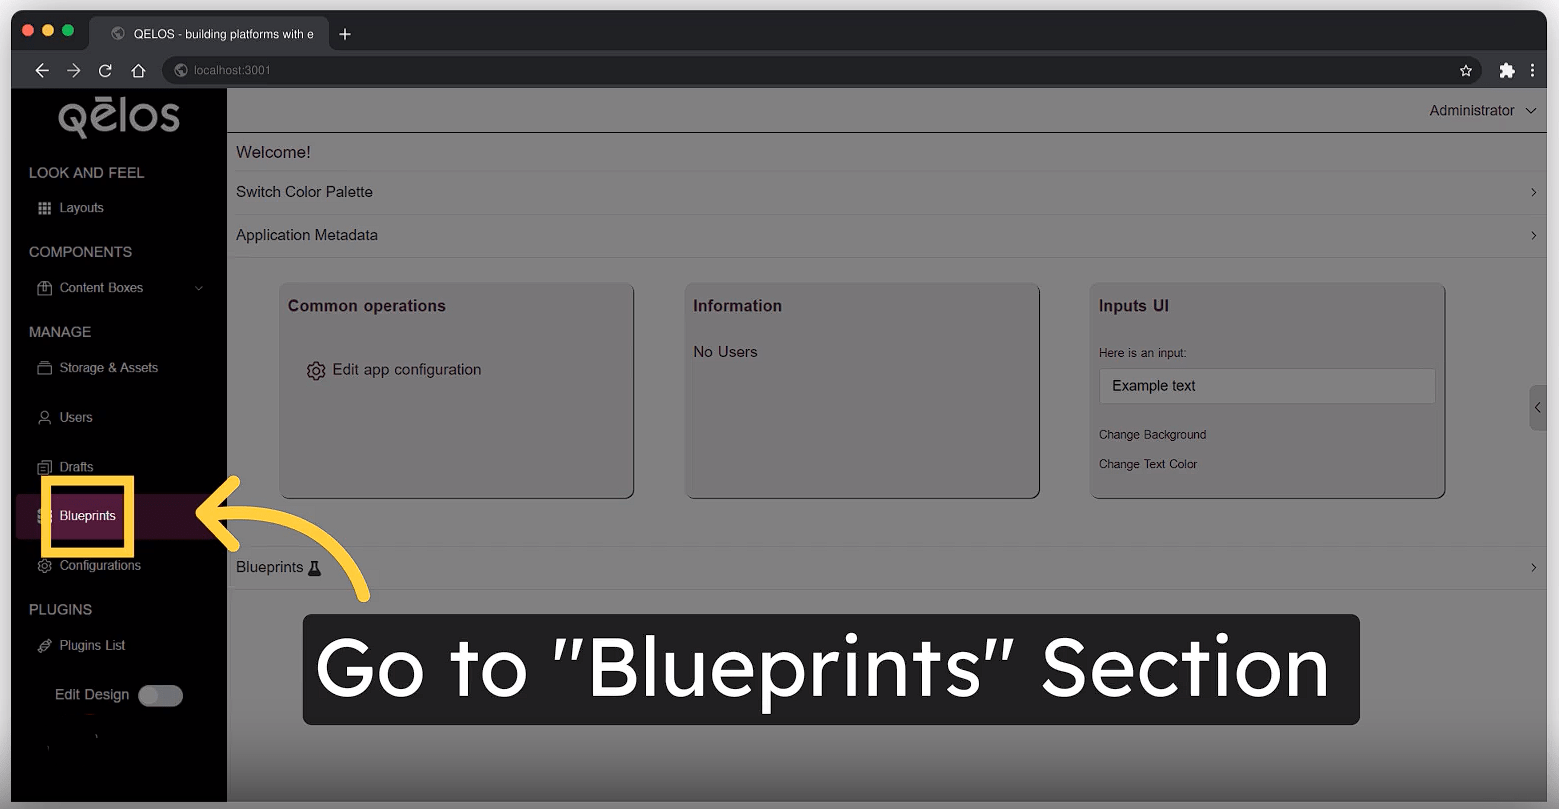
2. Navigate to the Blueprints Page
- Go to the Blueprints section from the main menu.
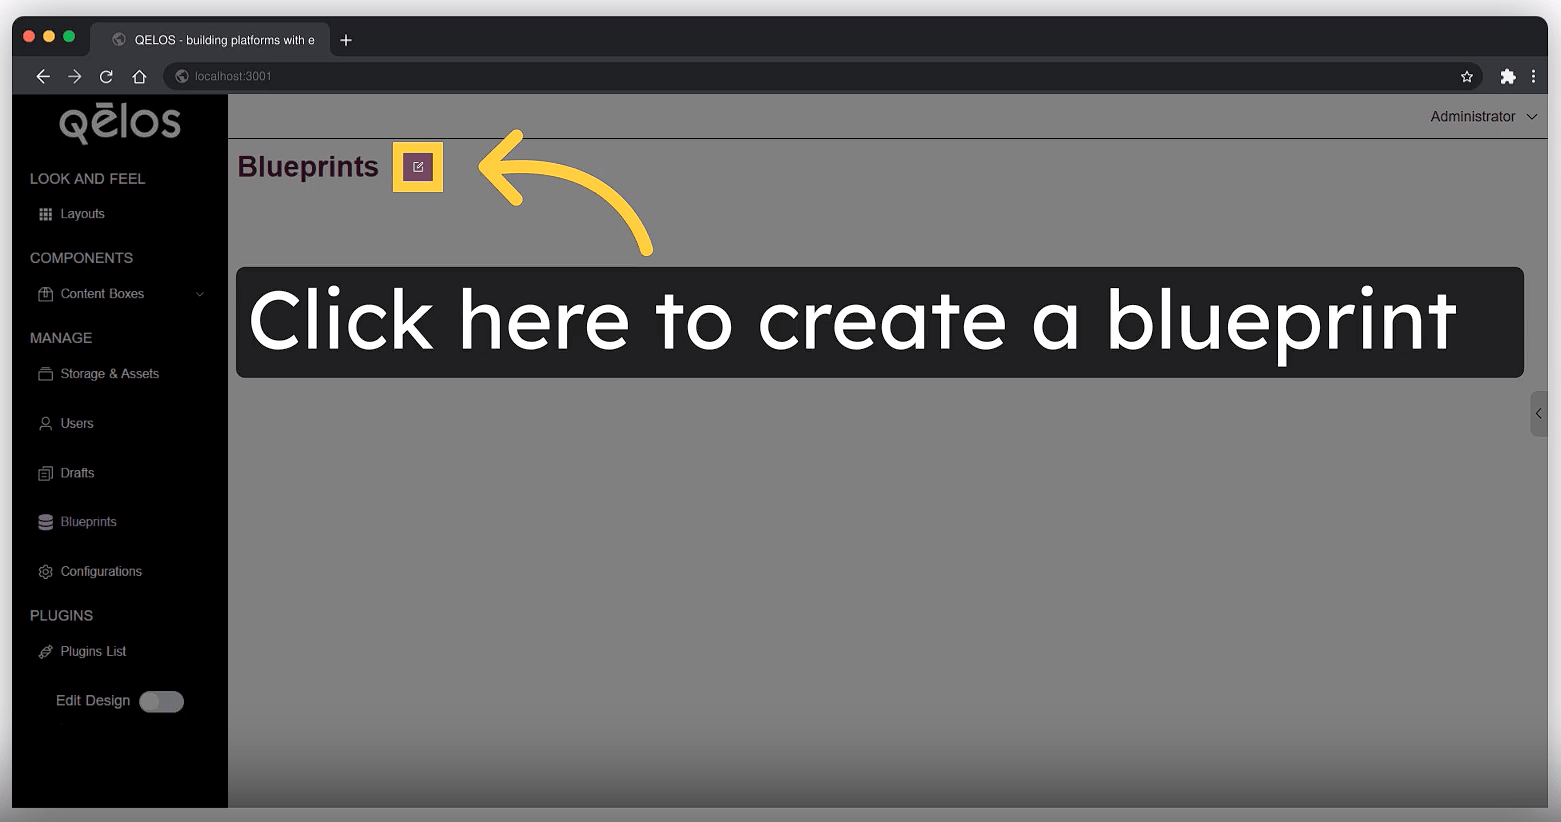
3. Create a New Blueprint
- Click on the "Create New Blueprint" button.
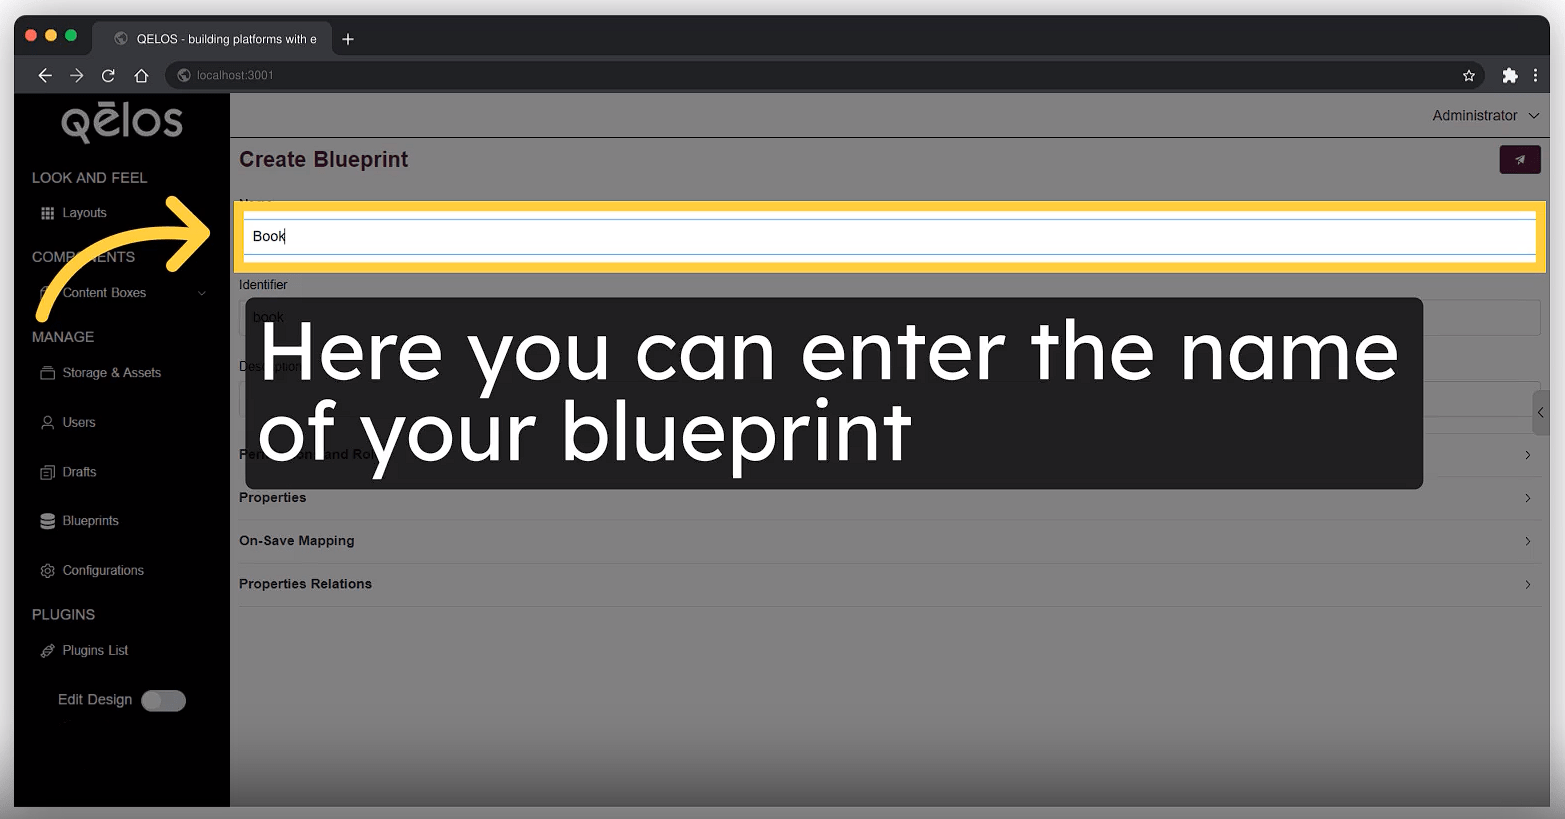
- Enter a name for your blueprint (e.g., "Book").
4. Define Blueprint Fields
- Add the necessary fields for your blueprint: Title, Identifier, Description.
5. Set Permissions Scope
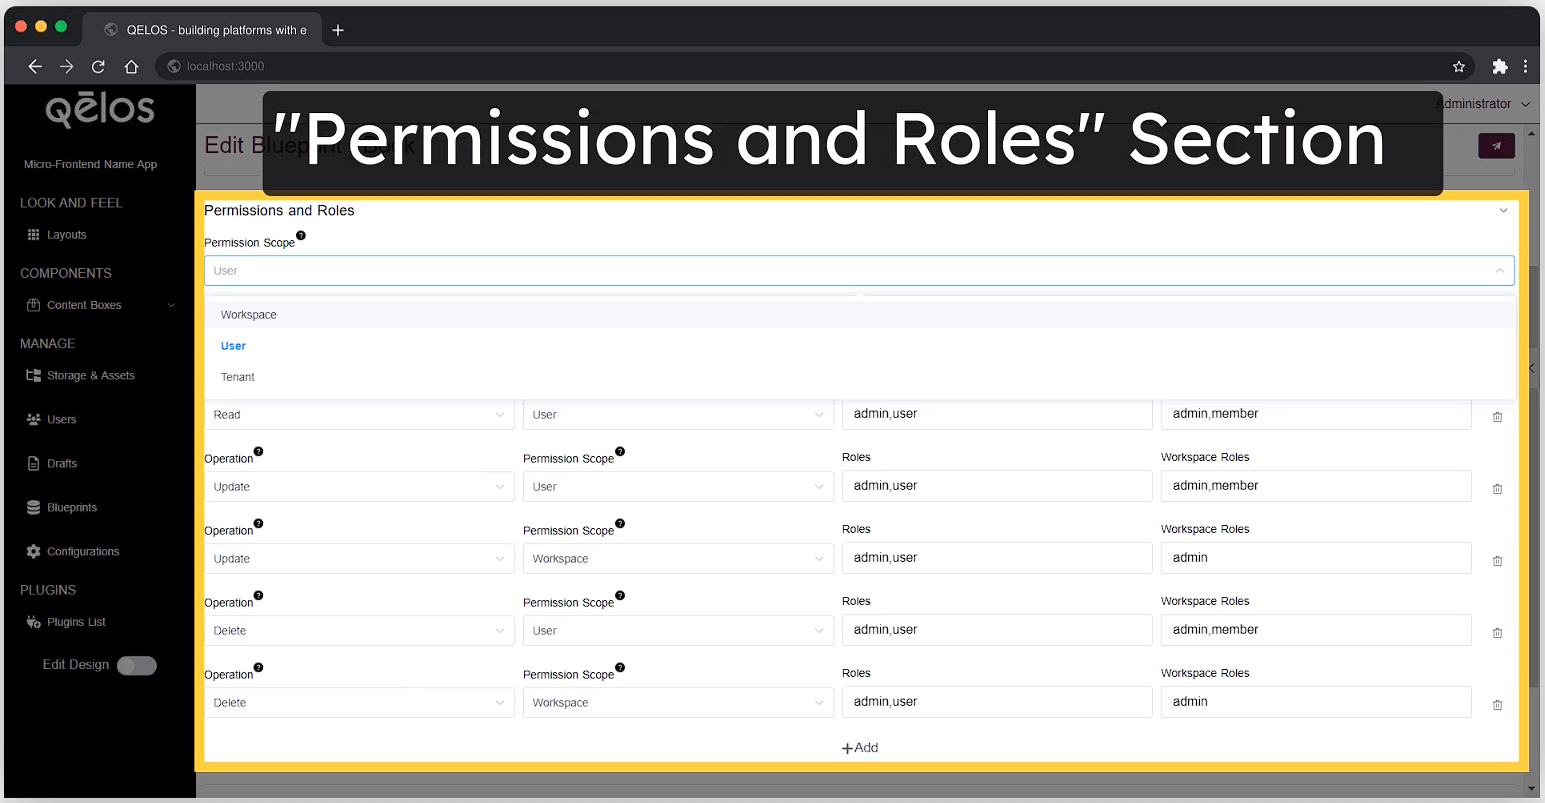
- Define the permissions for the blueprint, specifying who can create, update, and delete entries.
6. Add Properties
- Properties determine the structure of the blueprint. Each entity also have identifier and title, regardless of those custom entities.
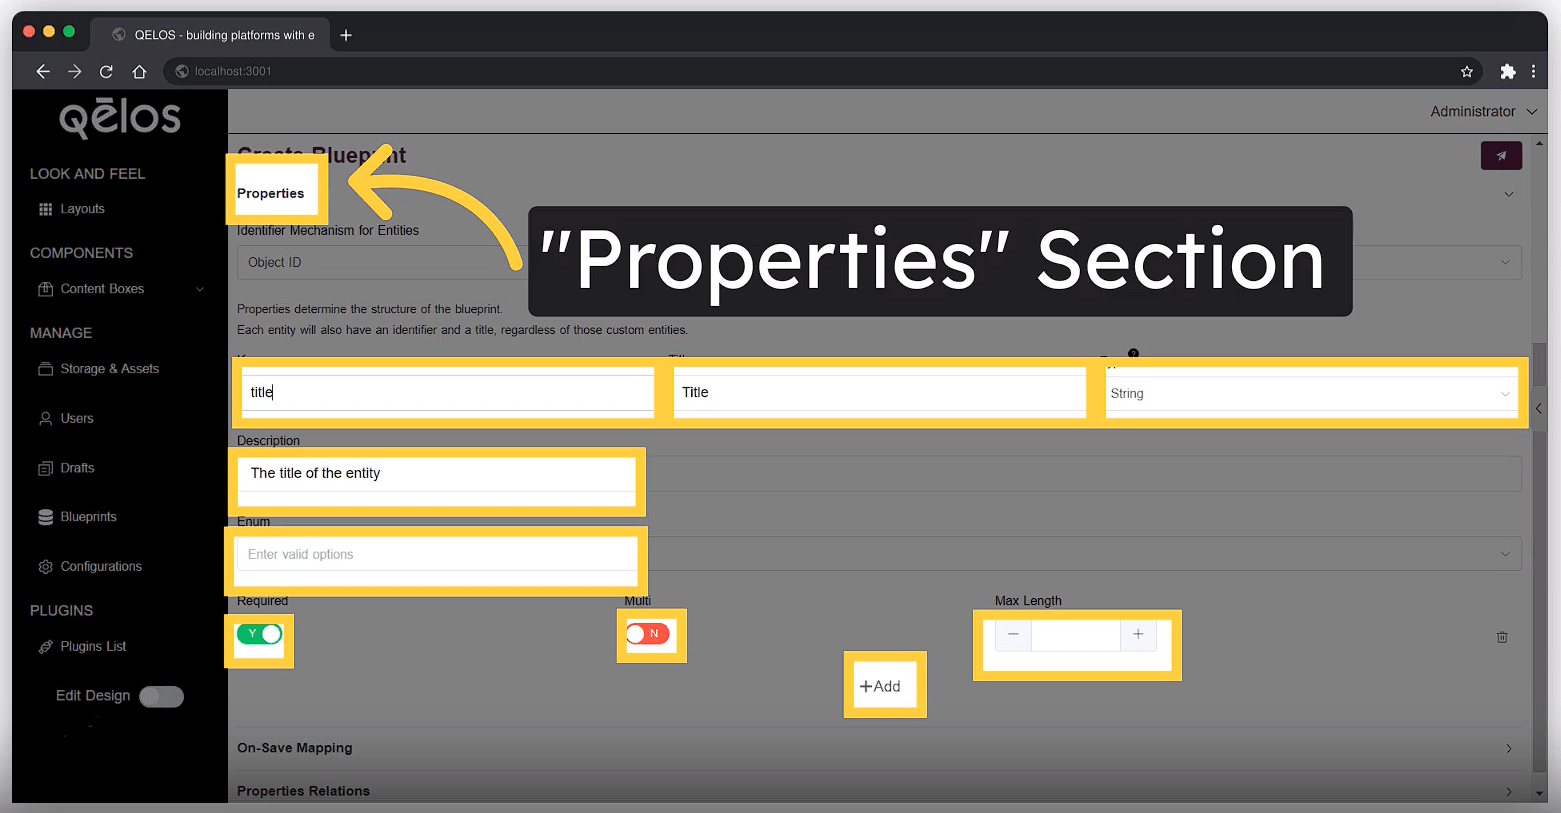
Here you we have slots for: identifier, title, key, type, description, enum, required, multi(array) and max length.
For example for blueprint "Book" we can add:
| Properties | Details |
|---|---|
| identifier | Object ID |
| title | Title |
| key | title |
| type | String |
| required | yes |
| ------- | ------- |
| title | Category |
| key | category |
| type | String |
| required | yes |
7. Add OnSave Mappings
- Set up calculations or transformations that should occur when an entry is saved. Properties can be calculated on save. Each property key can have JQ calculations for its final data. These calculations will run on our backend for each entity.
8. Create Relations
- Define the connections between two or more entities. Each relation will have a key and target. The target is the entity that will be connected to the current entity.
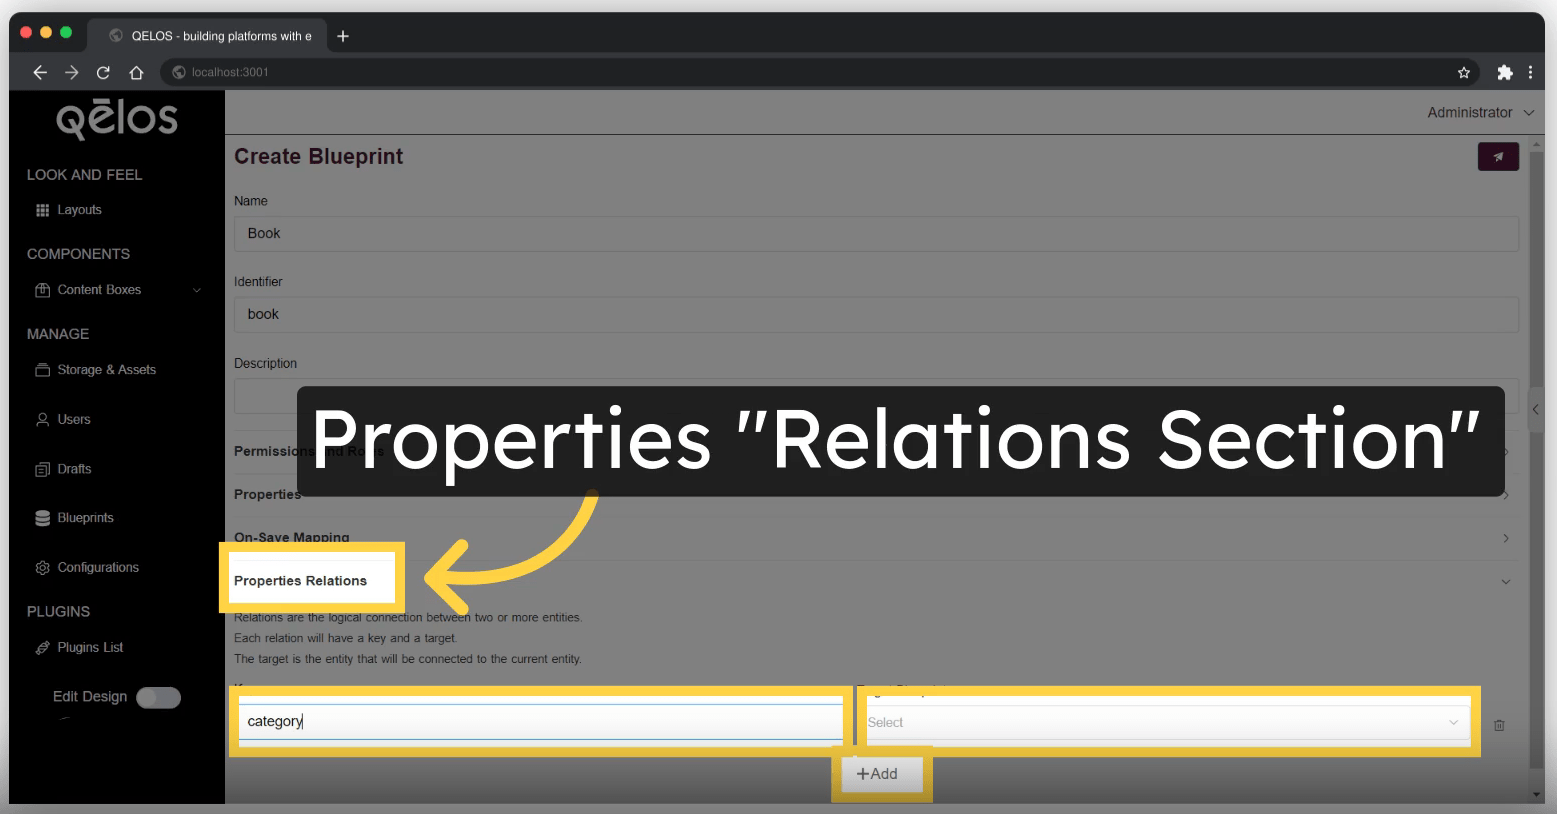
- Here you can add relational fields if your blueprint needs to reference other blueprints (e.g., category references).
For example we can add:
| Field | Value |
|---|---|
| Key | category (from properties of blueprint) |
| Target Blueprint | Category |
9. Events Emitting
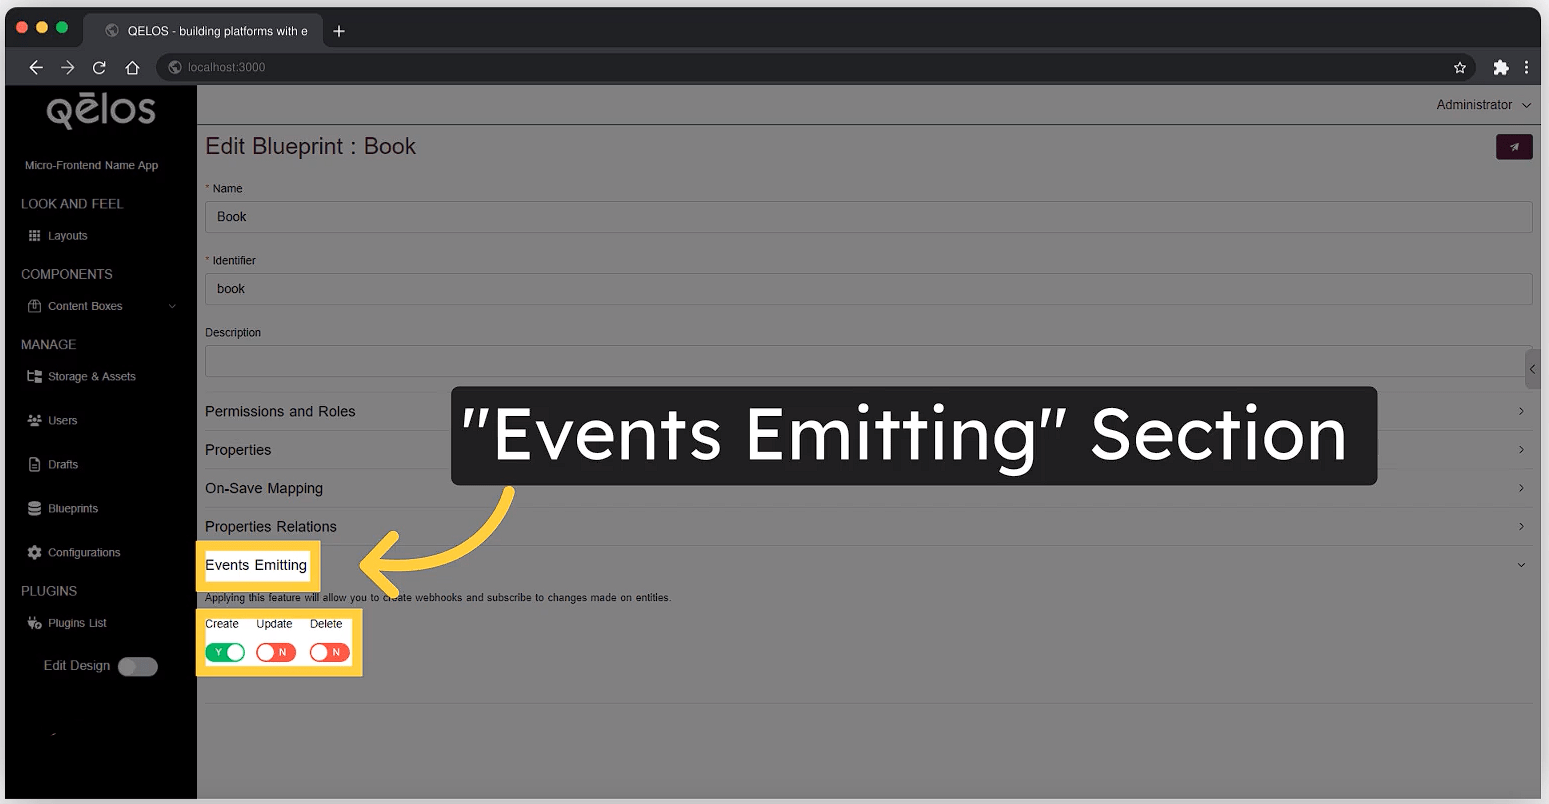
The Events Emitting section allows you to configure webhooks and subscribe to changes made on entities within your blueprint. By enabling this feature, you can automatically trigger external actions or notifications when specific operations occur.
You can choose to emit events for the following operations:
- Create: Emits an event when a new entity is created.
- Update: Emits an event when an existing entity is updated.
- Delete: Emits an event when an entity is deleted.
These emitted events can be connected to webhooks, allowing your system to respond dynamically to changes within the data managed by the blueprint.
10. Save the Blueprint
- Click the "Save" button to store your blueprint. This creates a RESTful API endpoint, a database entry, and validation rules for your blueprint.
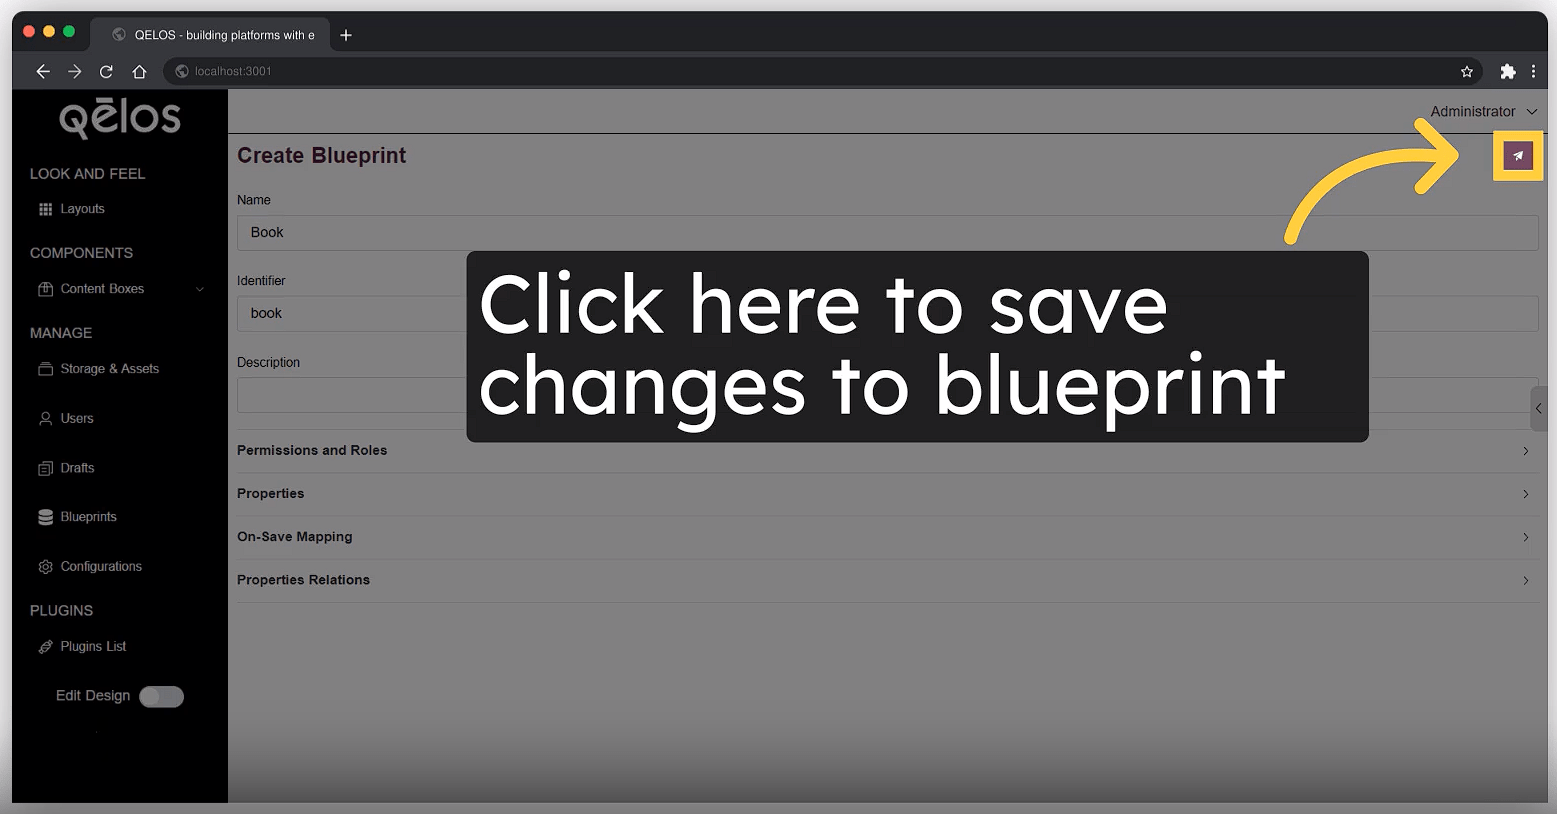
11. Check Your Created Blueprint
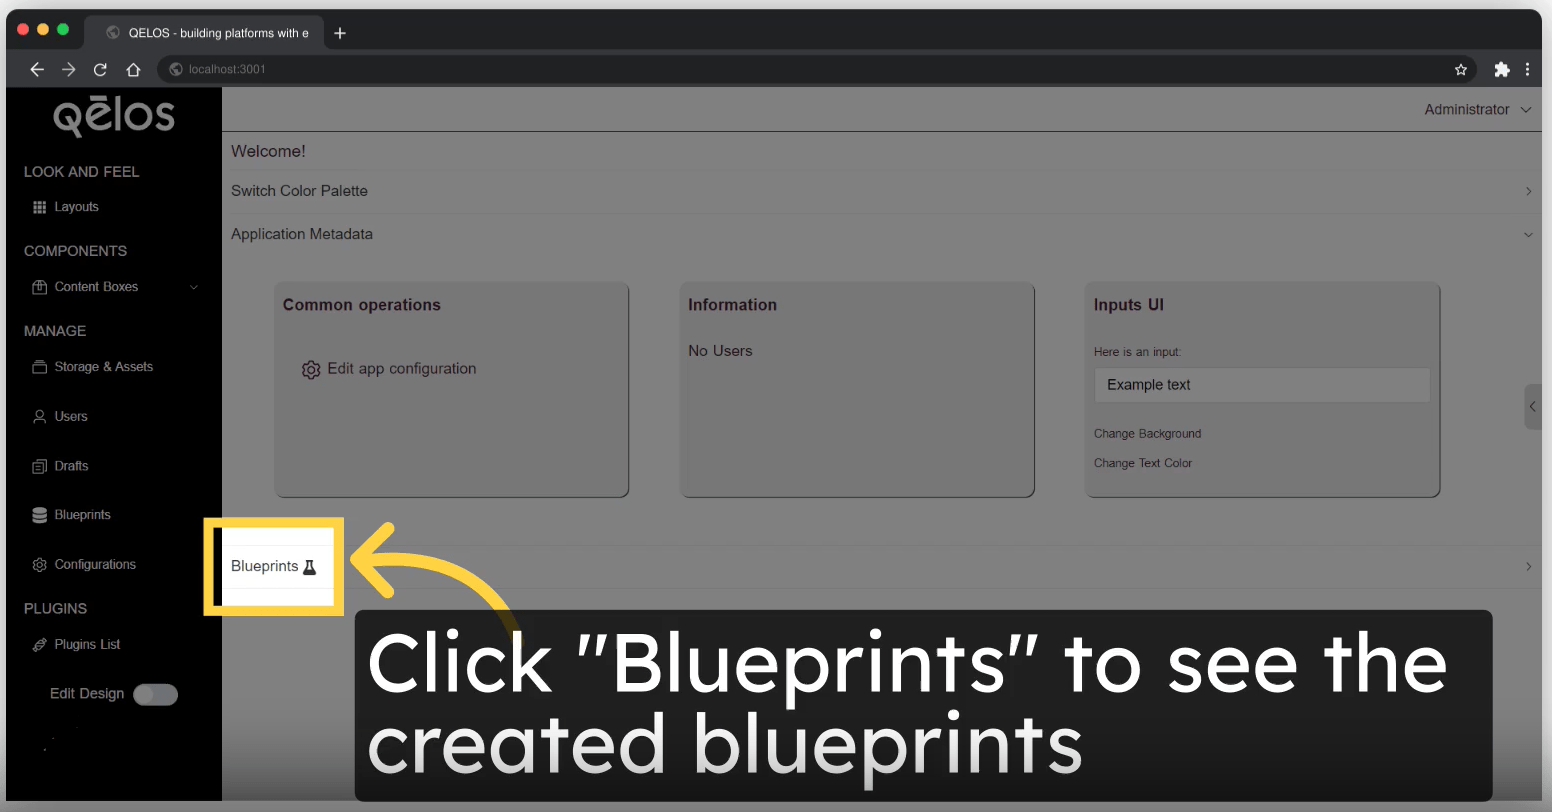
Each blueprint has a RESTful API, database, and validation for the metadata, values, and relations.
