Edit Mode - Plugin Page Editor
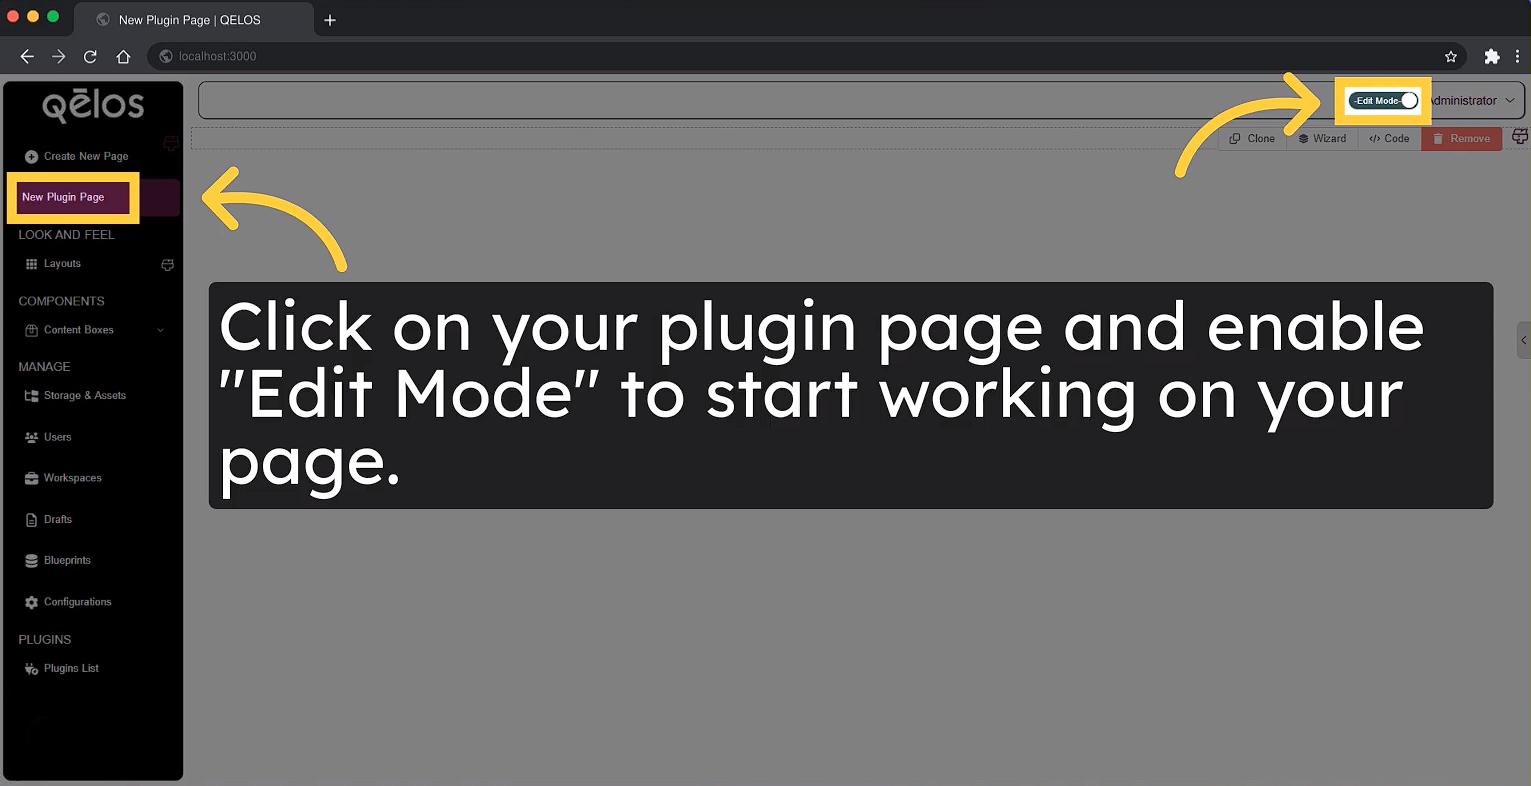
On this page, you will find tools to help you quickly and easily create and customize your plugin page. Add various content elements such as headers, tables, buttons, templates, charts, columns, and more. To start editing your plugin page, navigate to your page and activate Edit Mode.
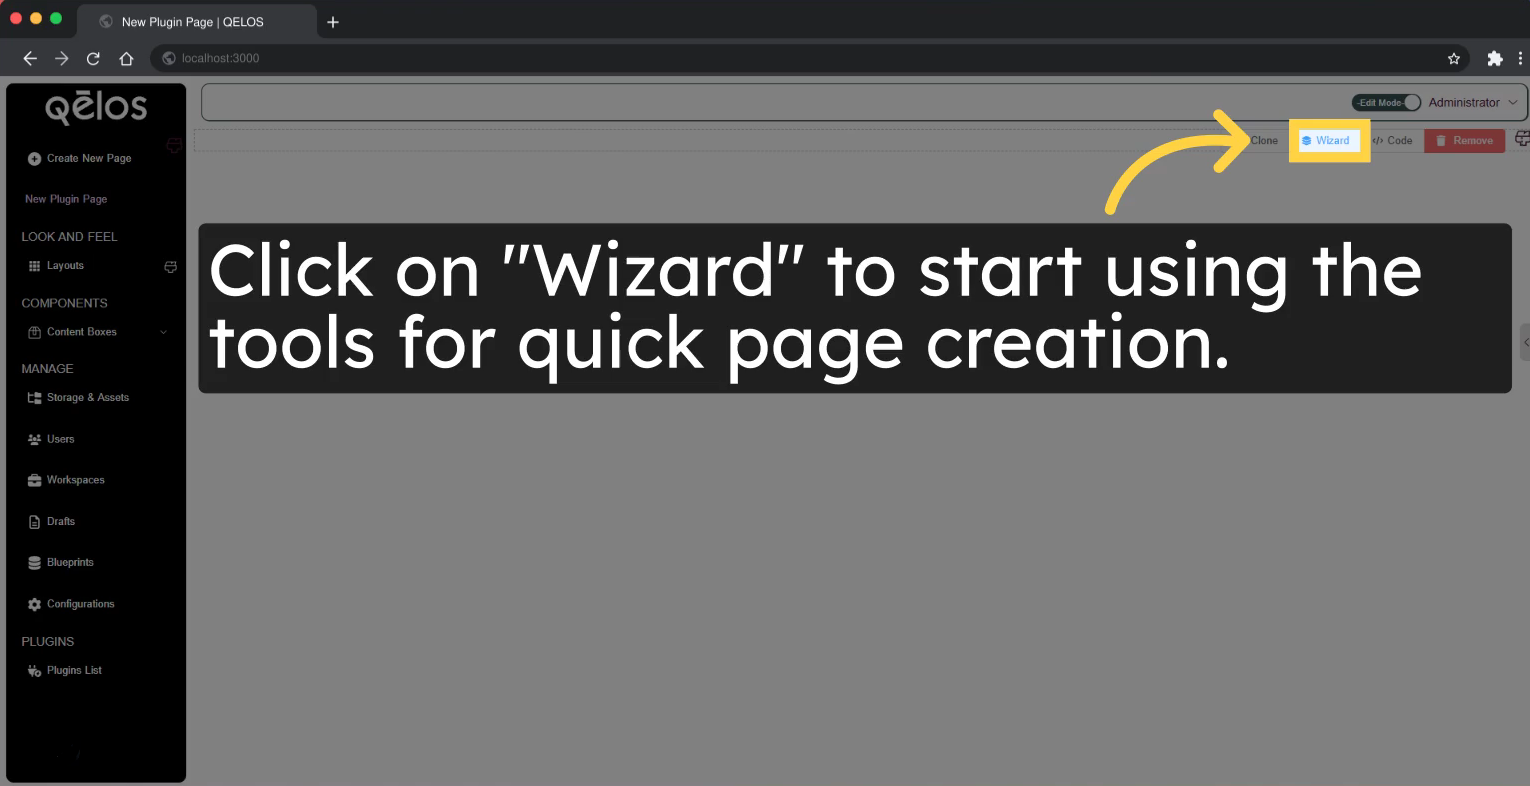
Click on the Wizard section to access tools for quick page creation and customization.
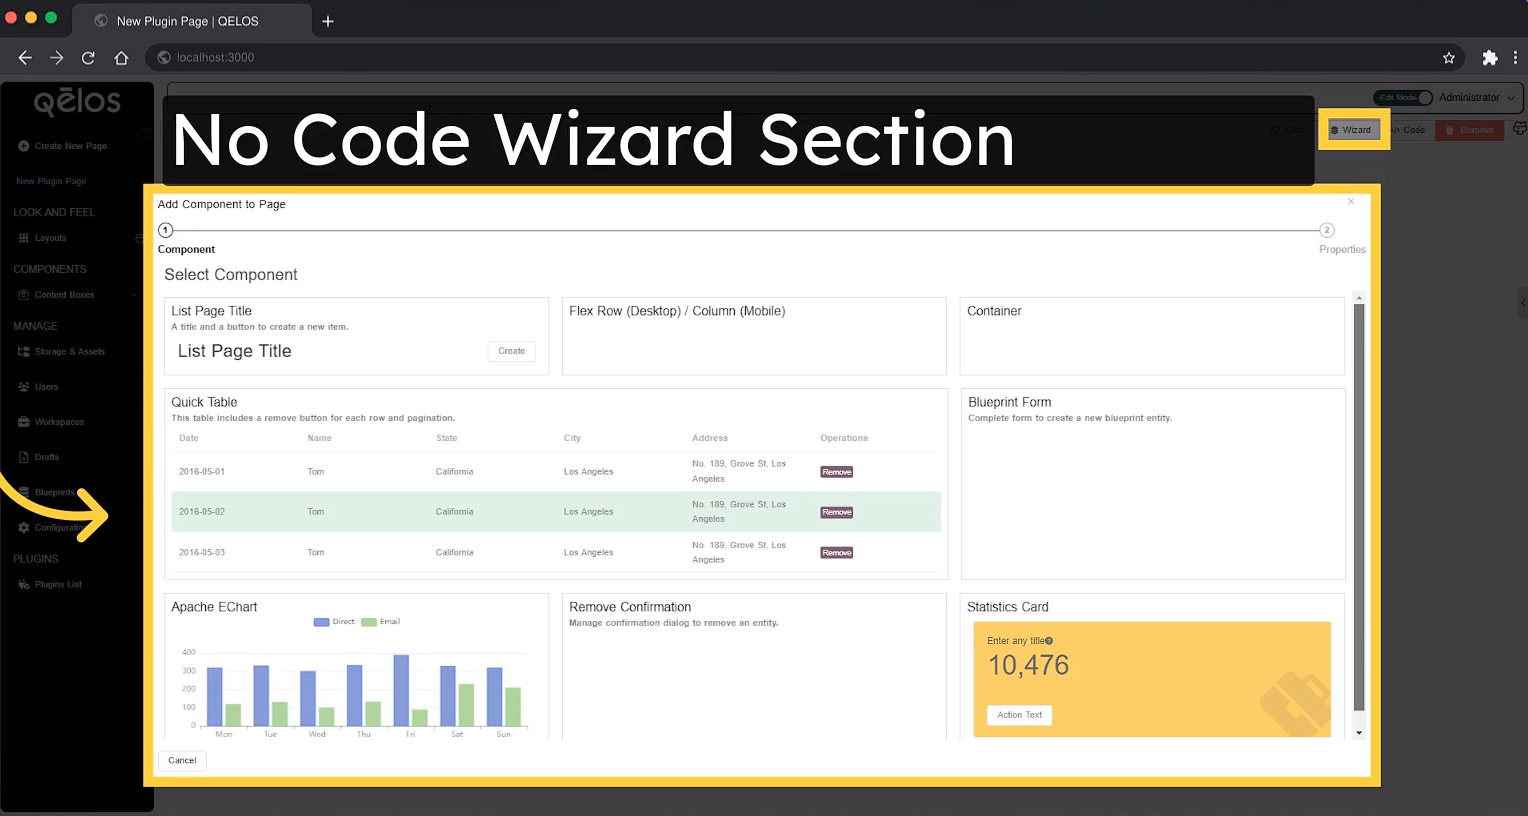
Here, you can use the No Code Wizard tools to create and customize your plugin page without writing any code.
1. Create a Plugin Page Title
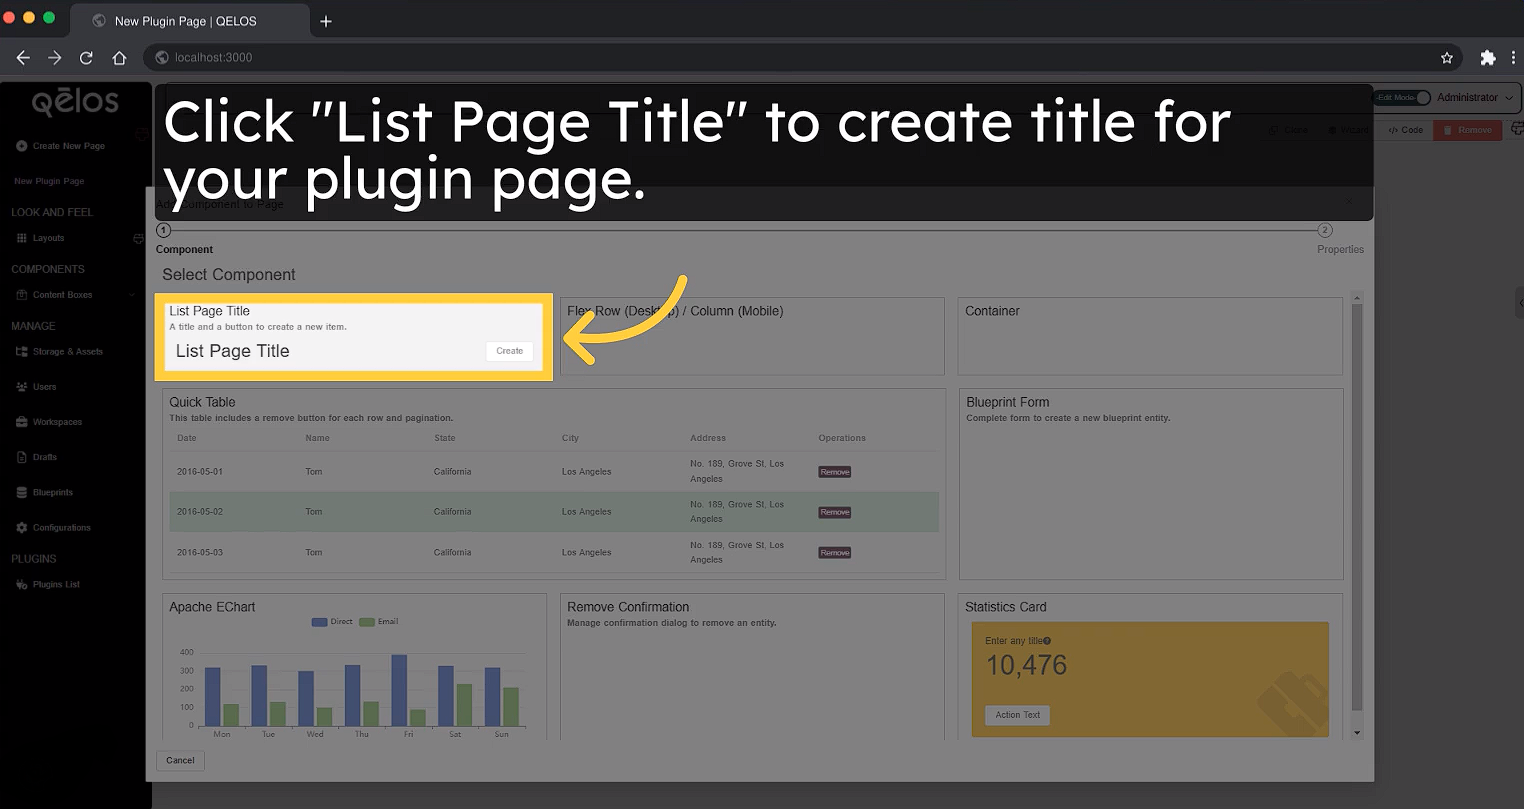
To create a title for your page, click the List Page Title tool.
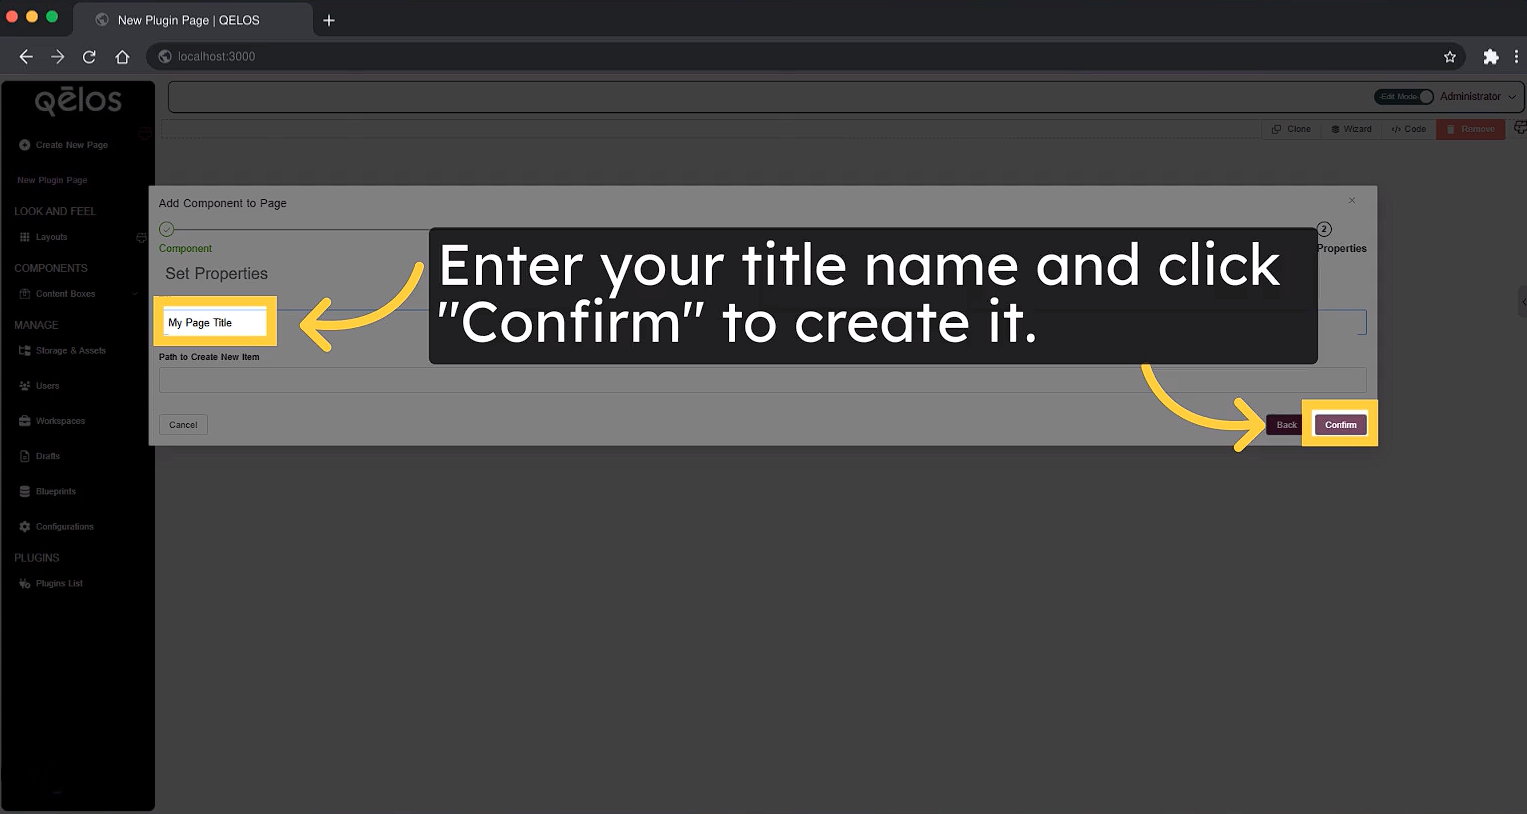
In the Input Modal that appears, type the title of your page and click Confirm.
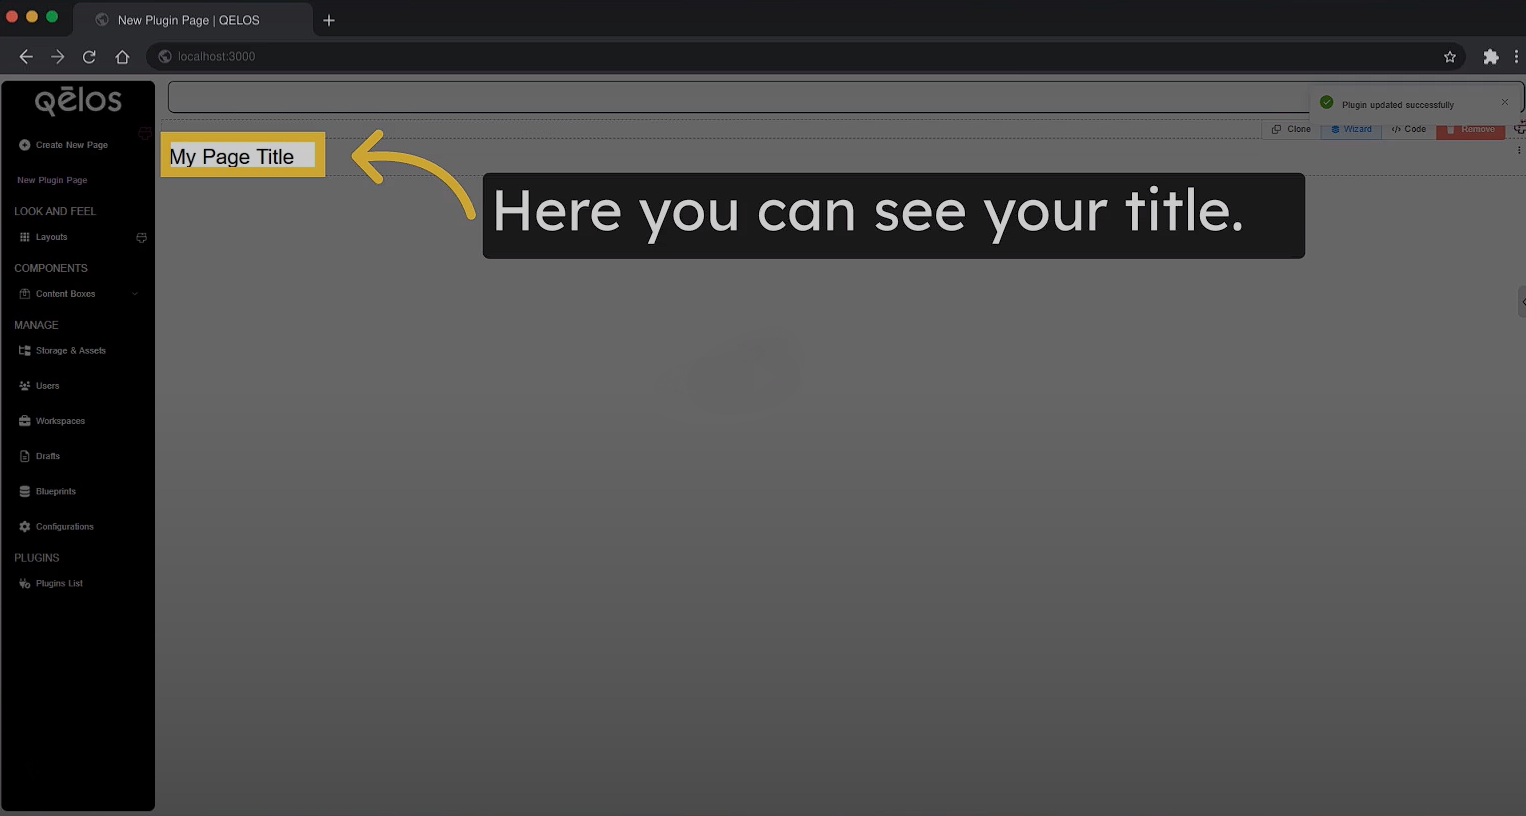
Your title will now appear on the plugin page.
2. Creating Columns on the Plugin Page
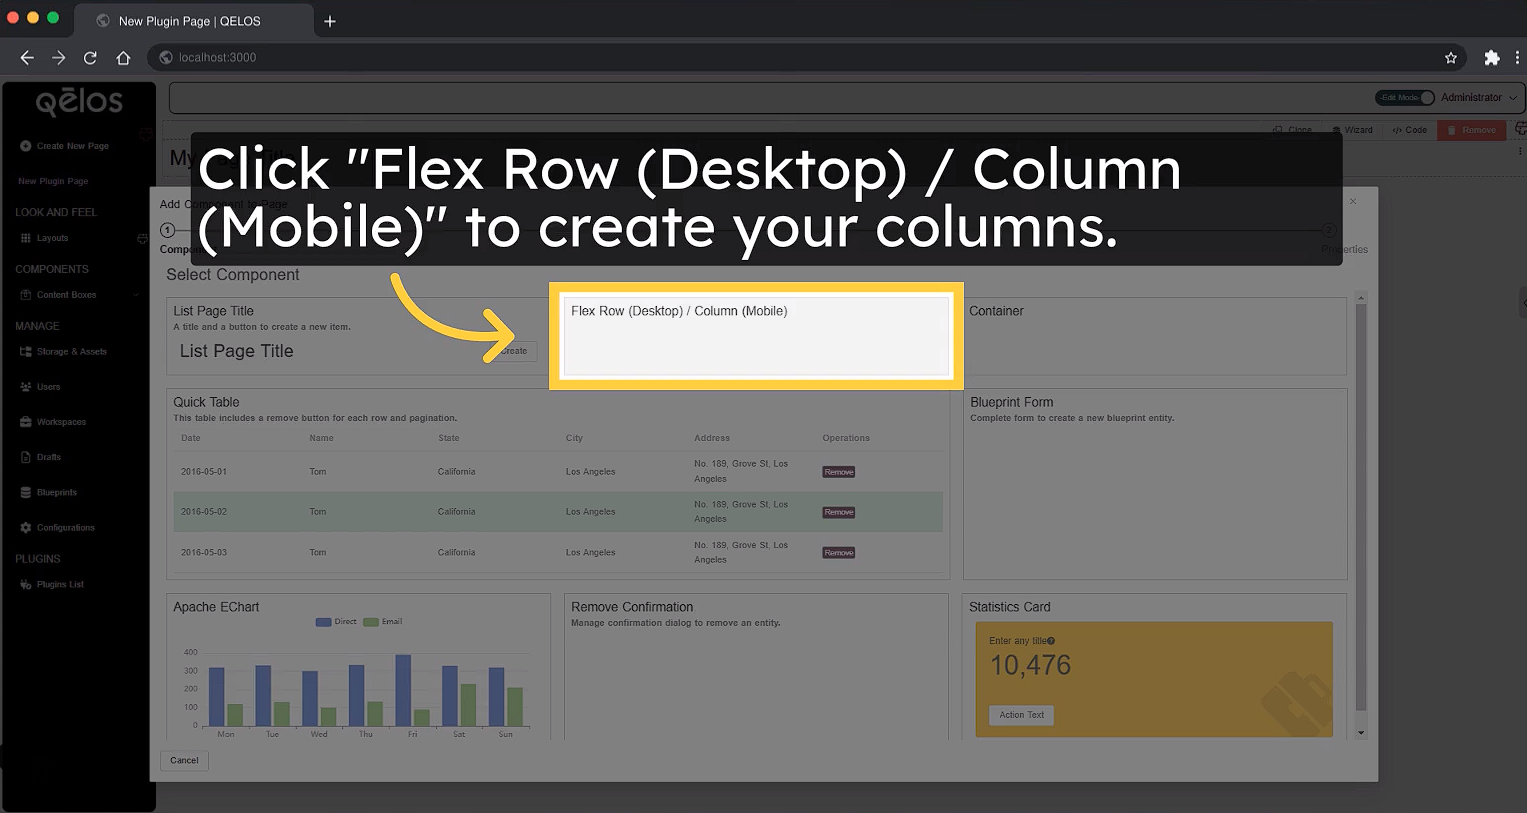
To create columns, click the Flex Row (Desktop) / Column (Mobile) tool.
In the Form Modal that appears, specify the number of columns you want to create and click Confirm.
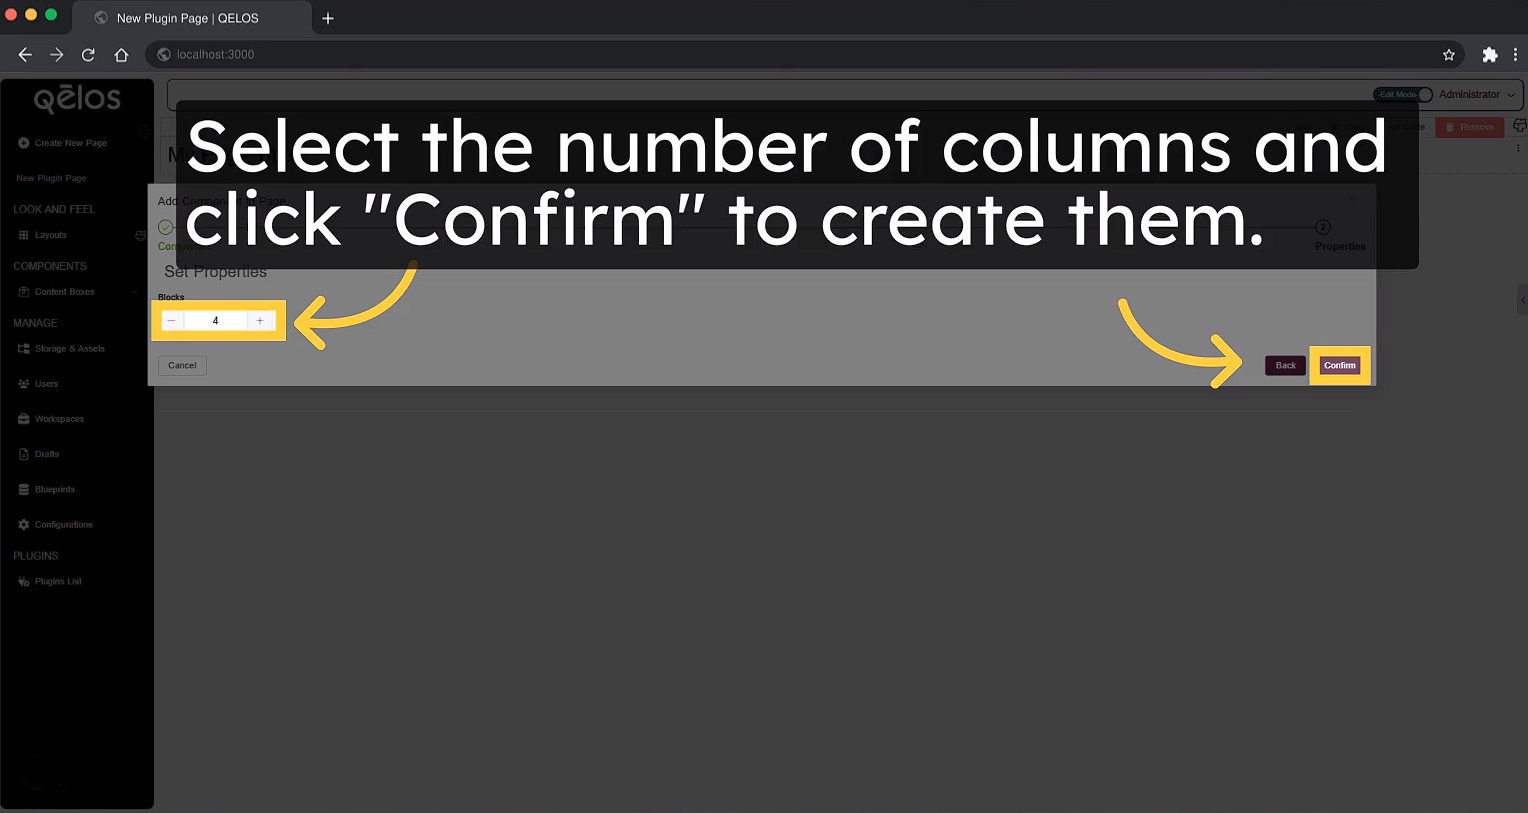
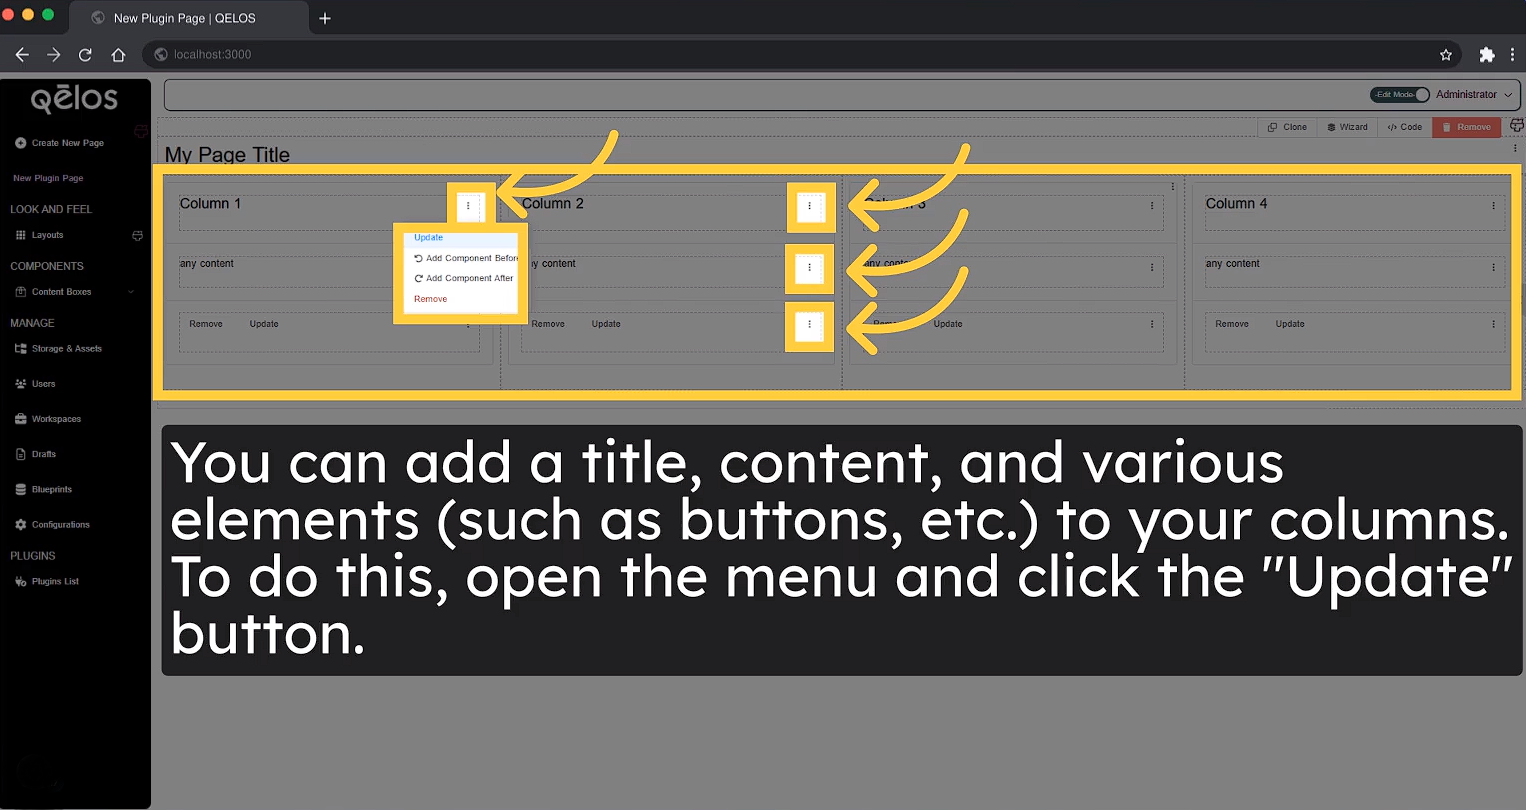
Once the columns are created, you can add text and other elements to them. To do this:
- Click the menu icon next to the column where you want to make changes.
- In the menu, select Update.
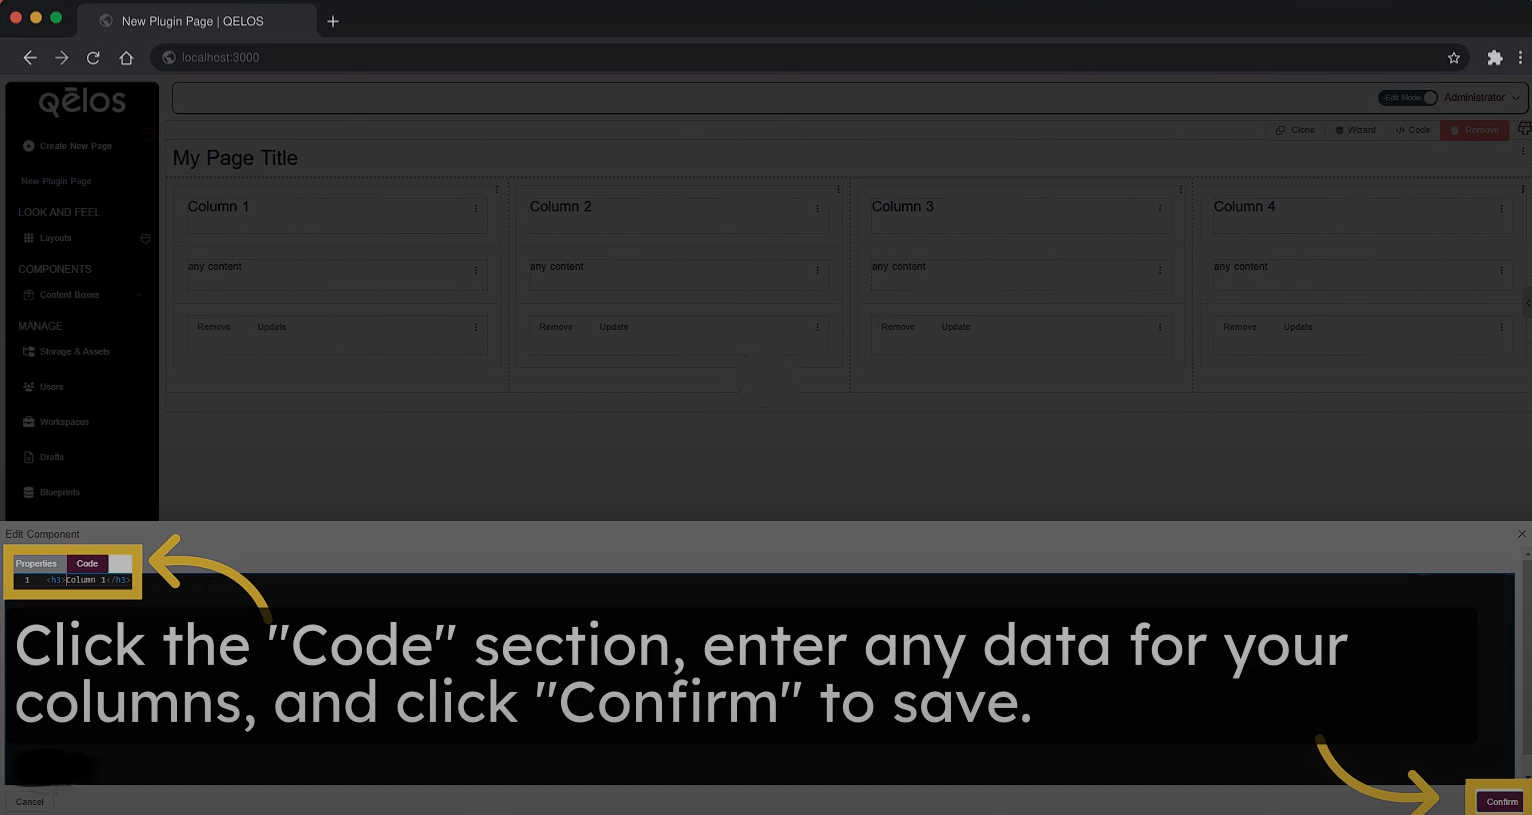
To enter text, go to the Code section in the Update Menu. Replace the default template text with your own content and click Confirm to save your changes.
3. Container
The Container tool allows you to create slots for adding and organizing text on your plugin page.
Step 1: Create a Container (Text Slot)
Click on the Container tool.
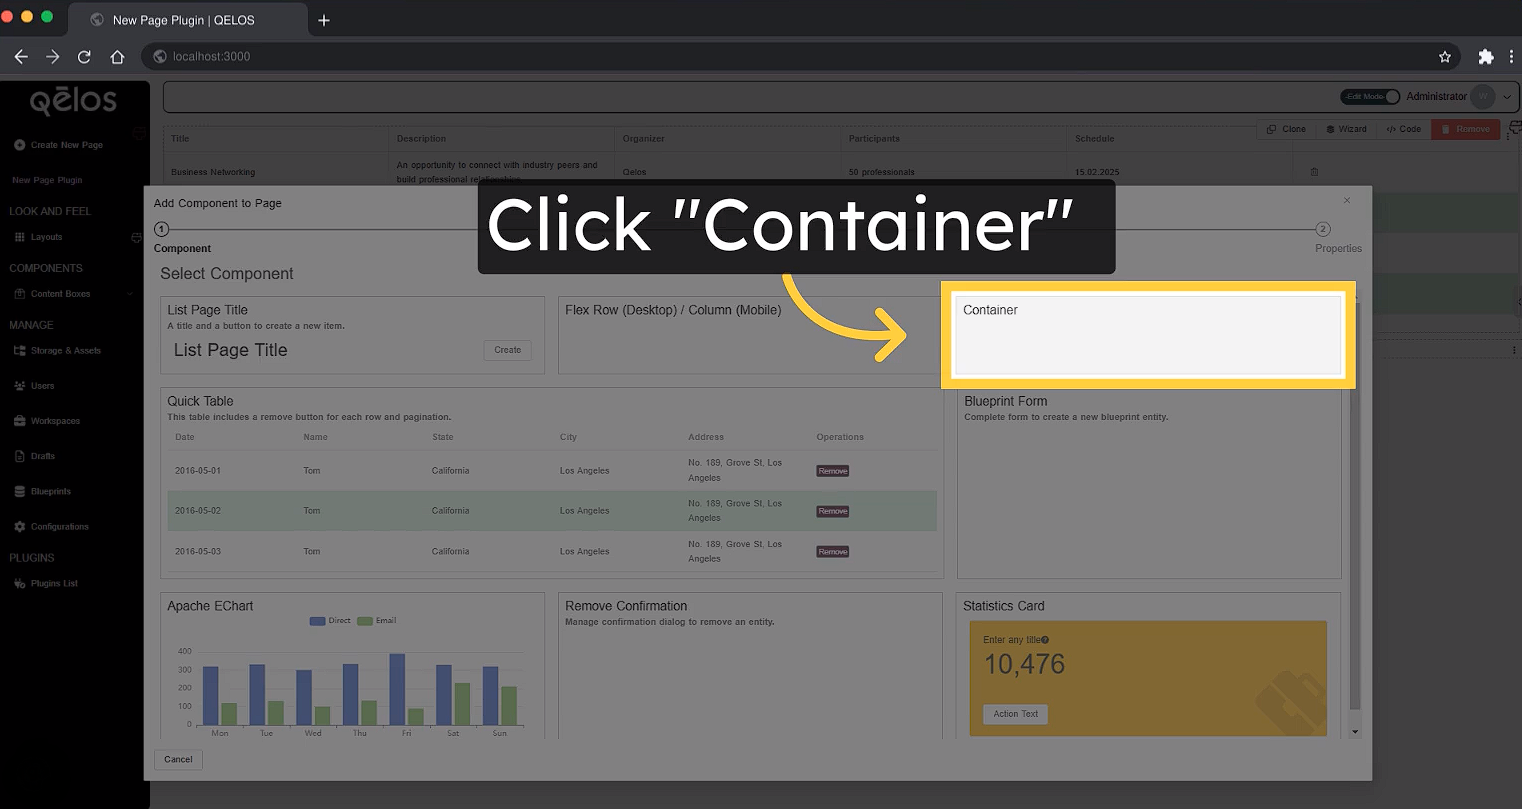
Specify the number of containers (text slots) you want to create in the Form Modal and click Confirm.
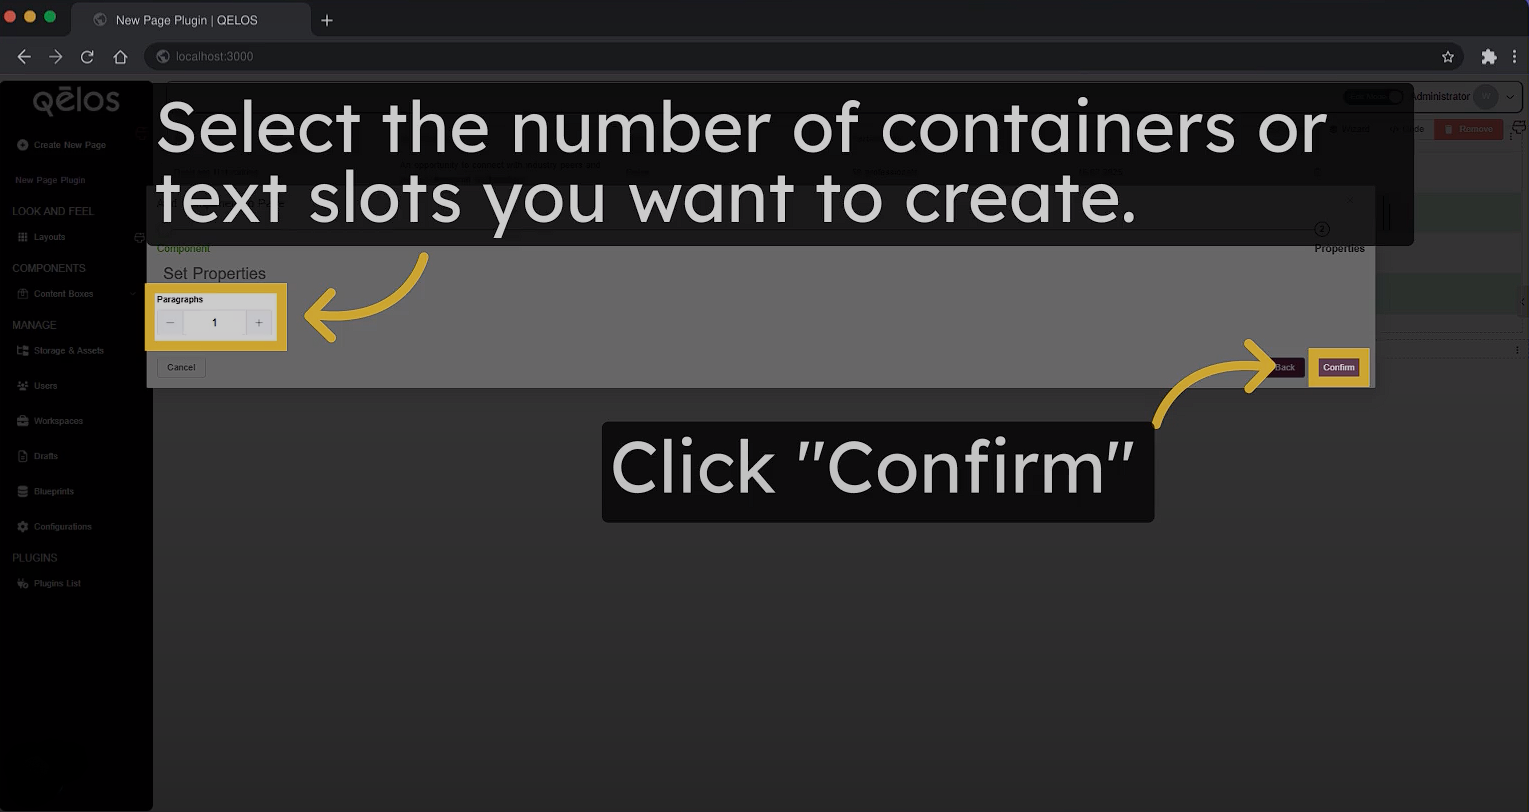
A container with default text will appear on your plugin page.
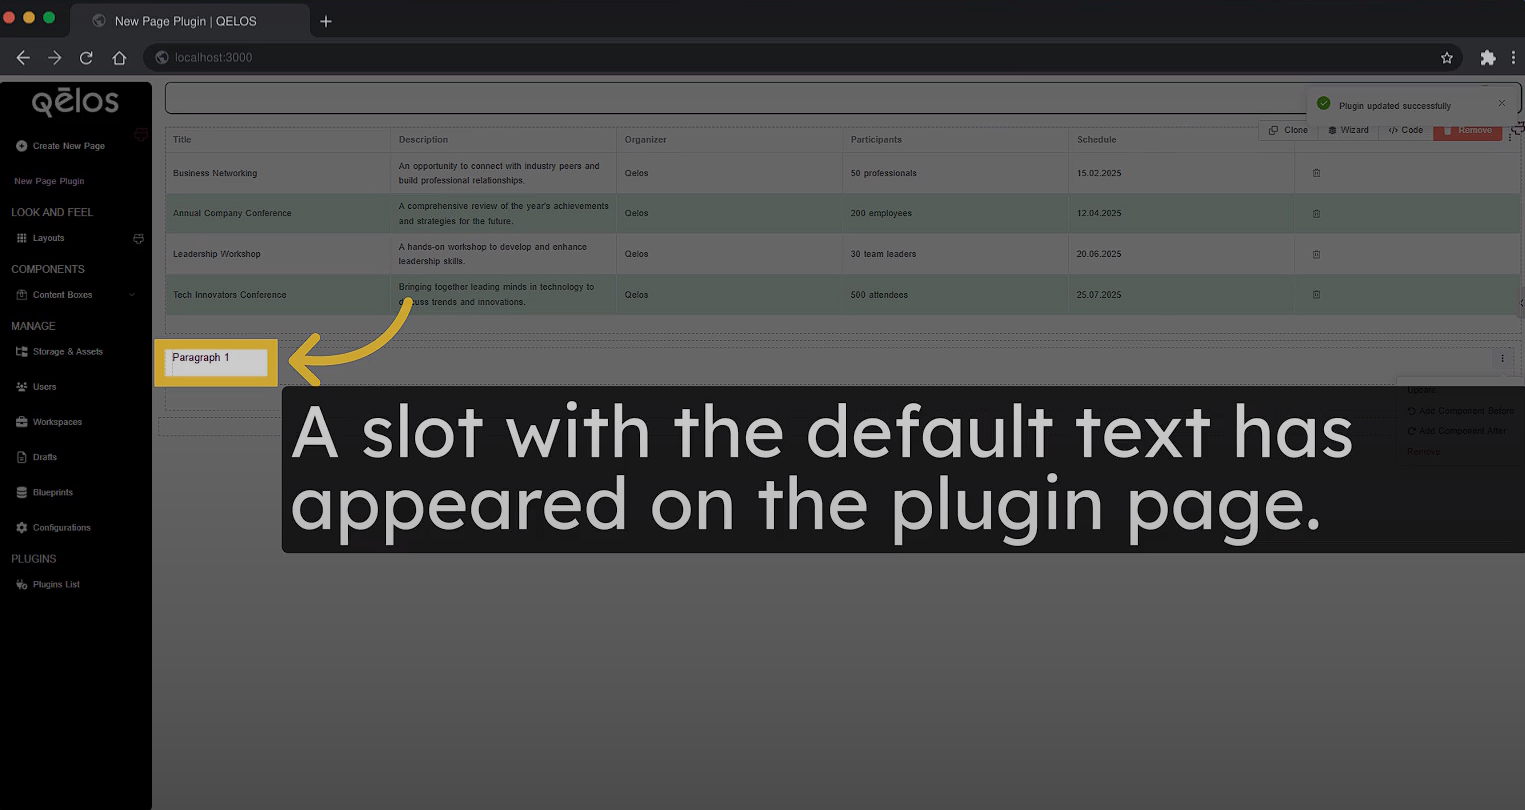
Step 2: Add Text to a Container
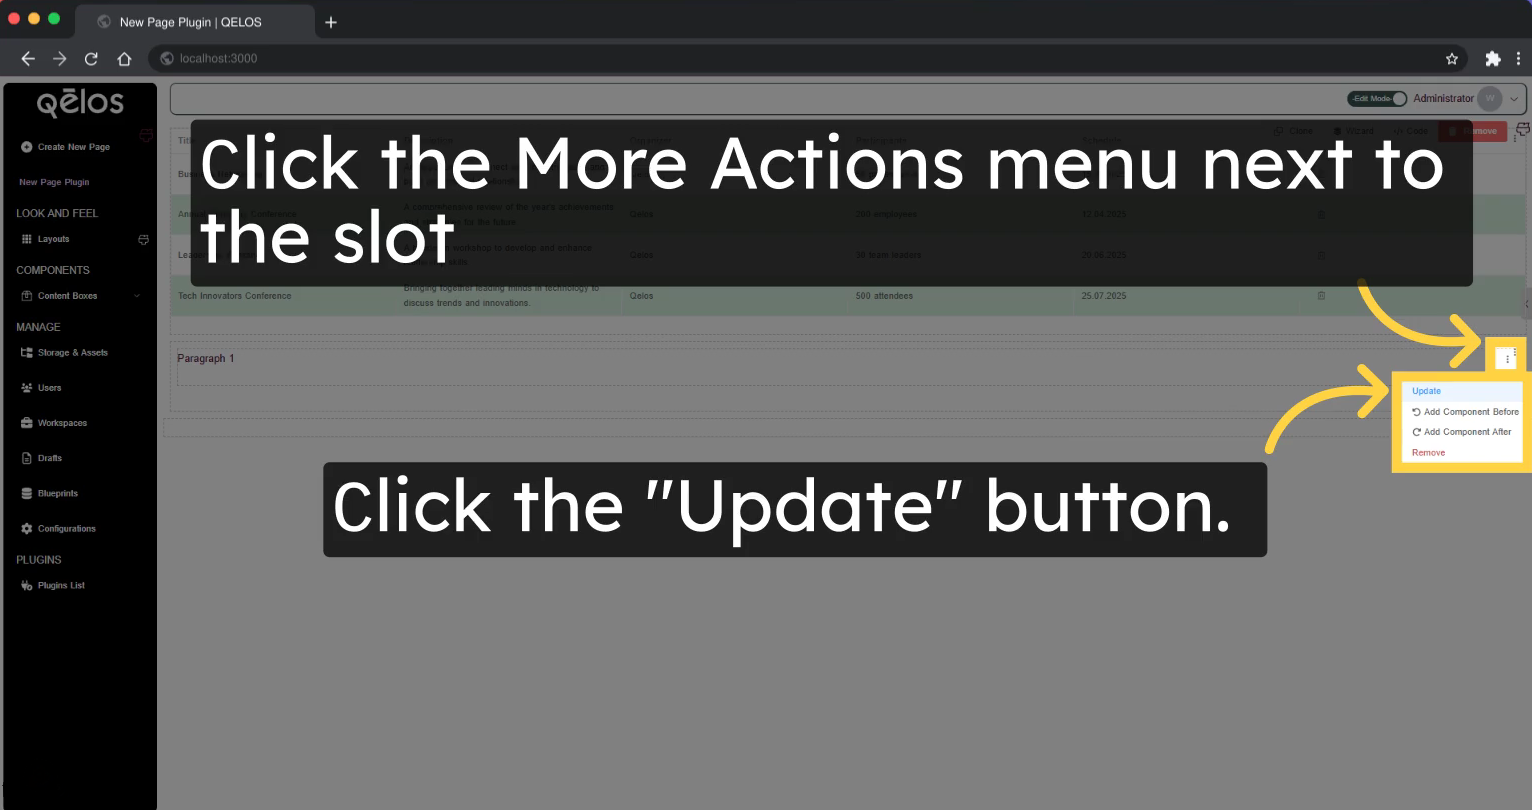
Locate the container where you want to add text and click the More Actions menu (three dots) next to it.
Select the Update option.
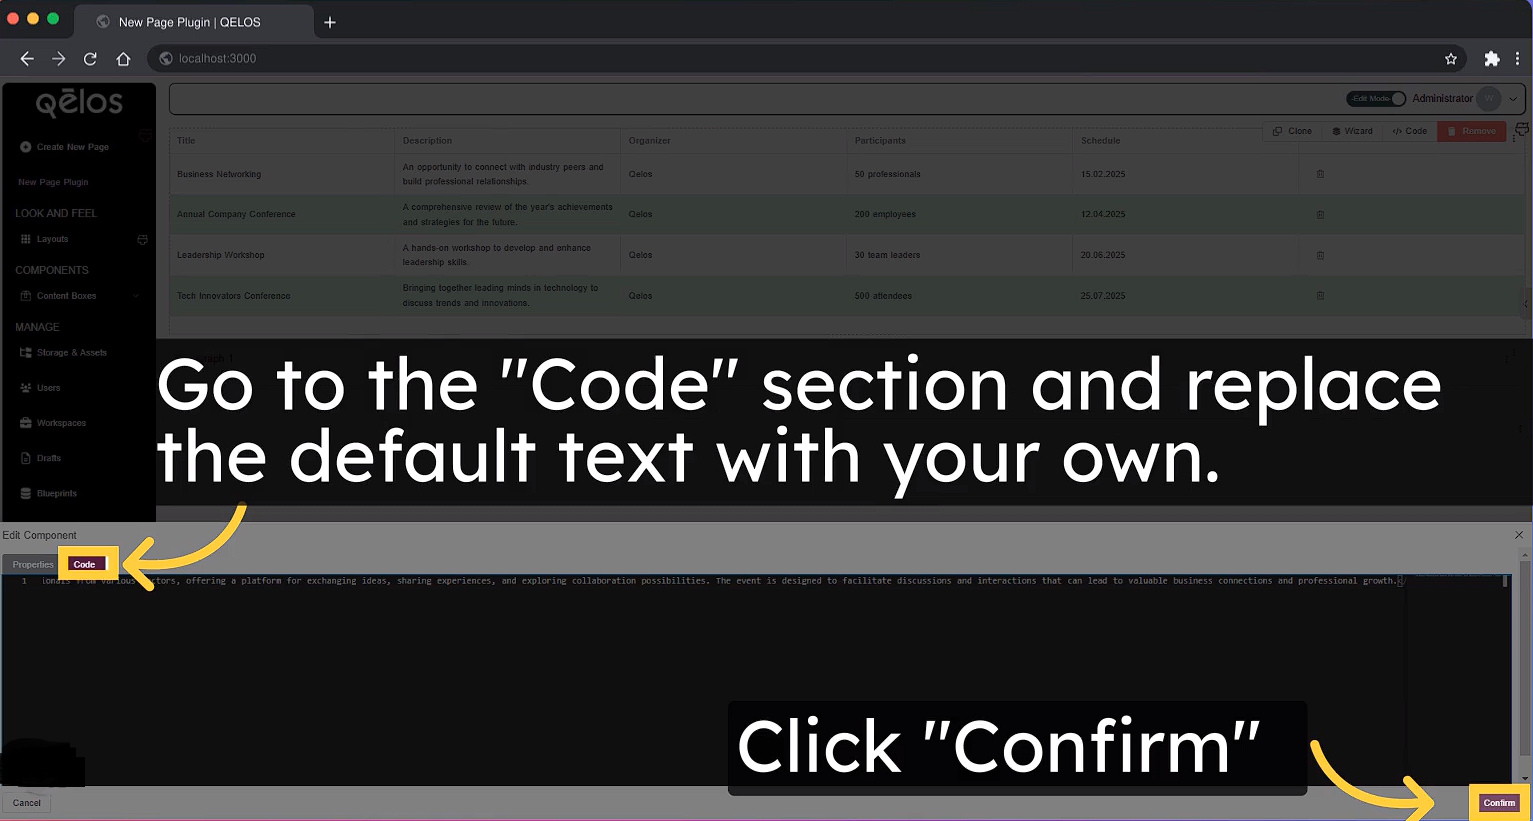
In the Update Menu, navigate to the Code section.
Default text:
<p>Paragraph 1</p>Replace the default text inside the 'p' tags with your own custom text.
<p>The Business Networking event organized by Qelos presents a prime opportunity for professionals to connect with industry peers and forge meaningful relationships.</p>Click the Confirm button to save your changes.
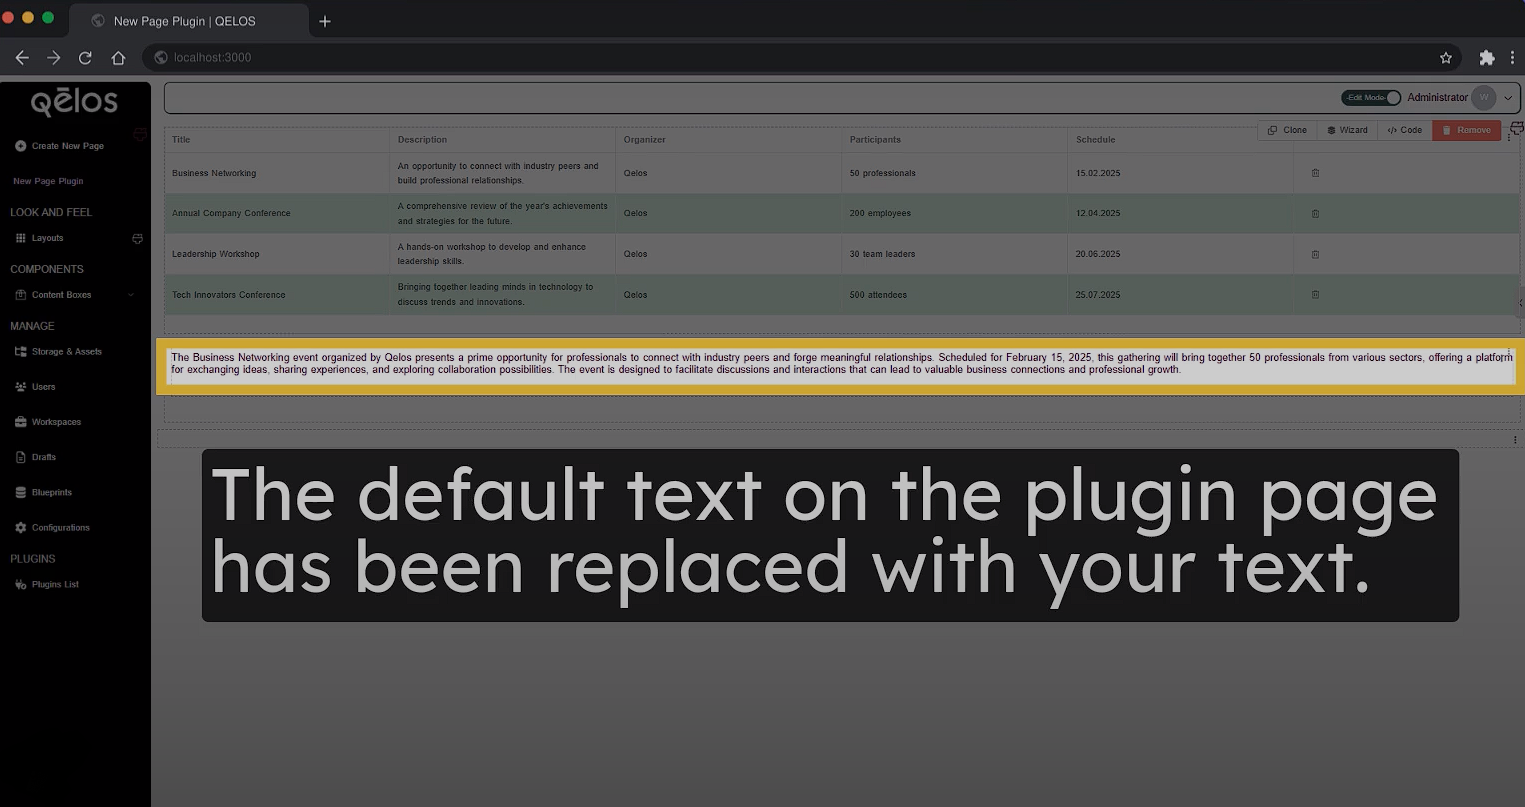
The default text in the container has now been replaced with your custom text. Your changes will be visible on the plugin page.
4. Quick Tables
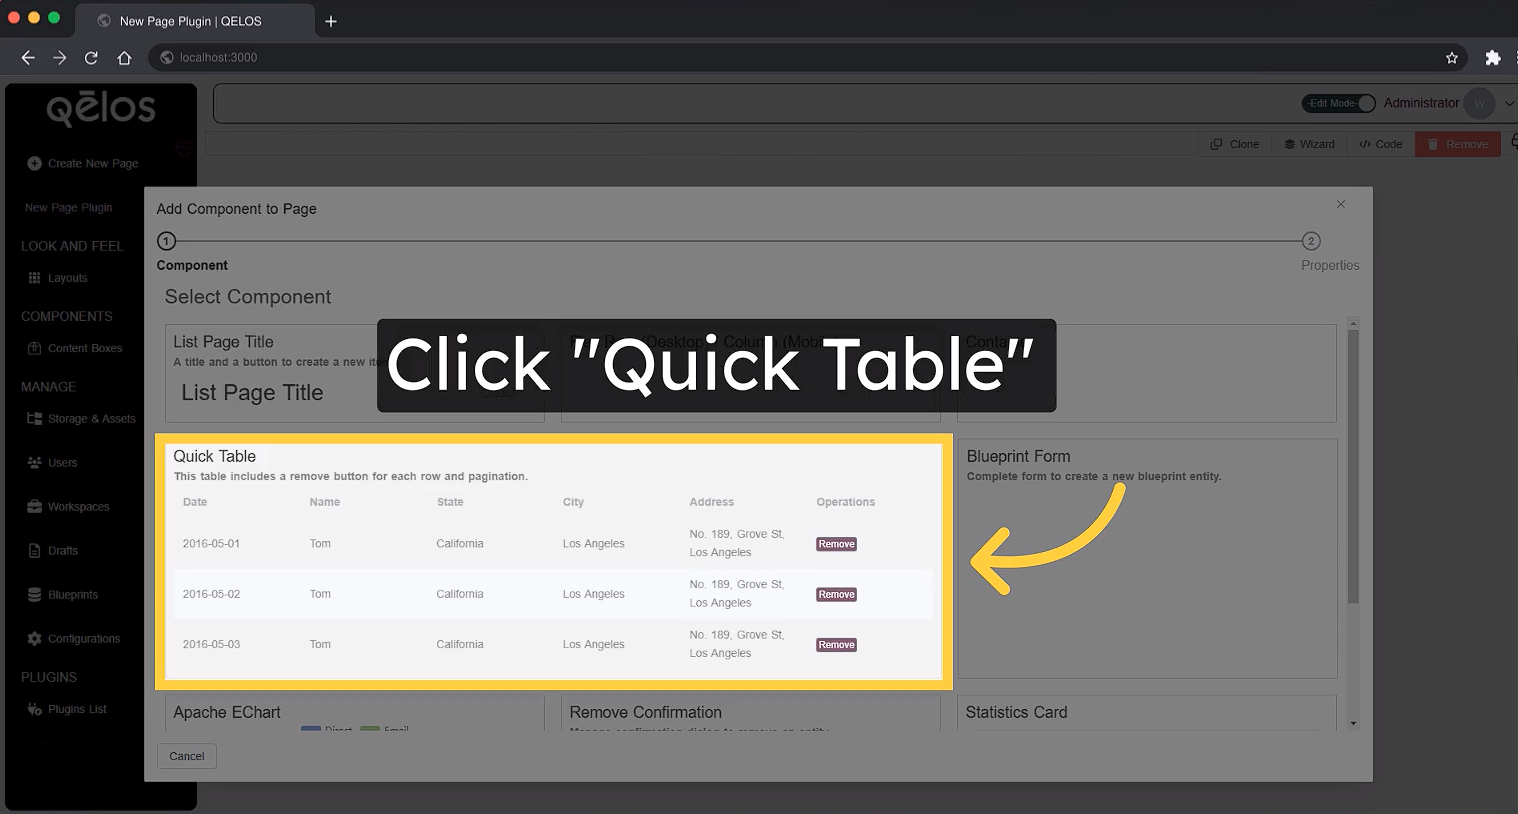
The Quick Tables tool is designed for fast and efficient of blueprint tables.
Click on the Quick Table tool.
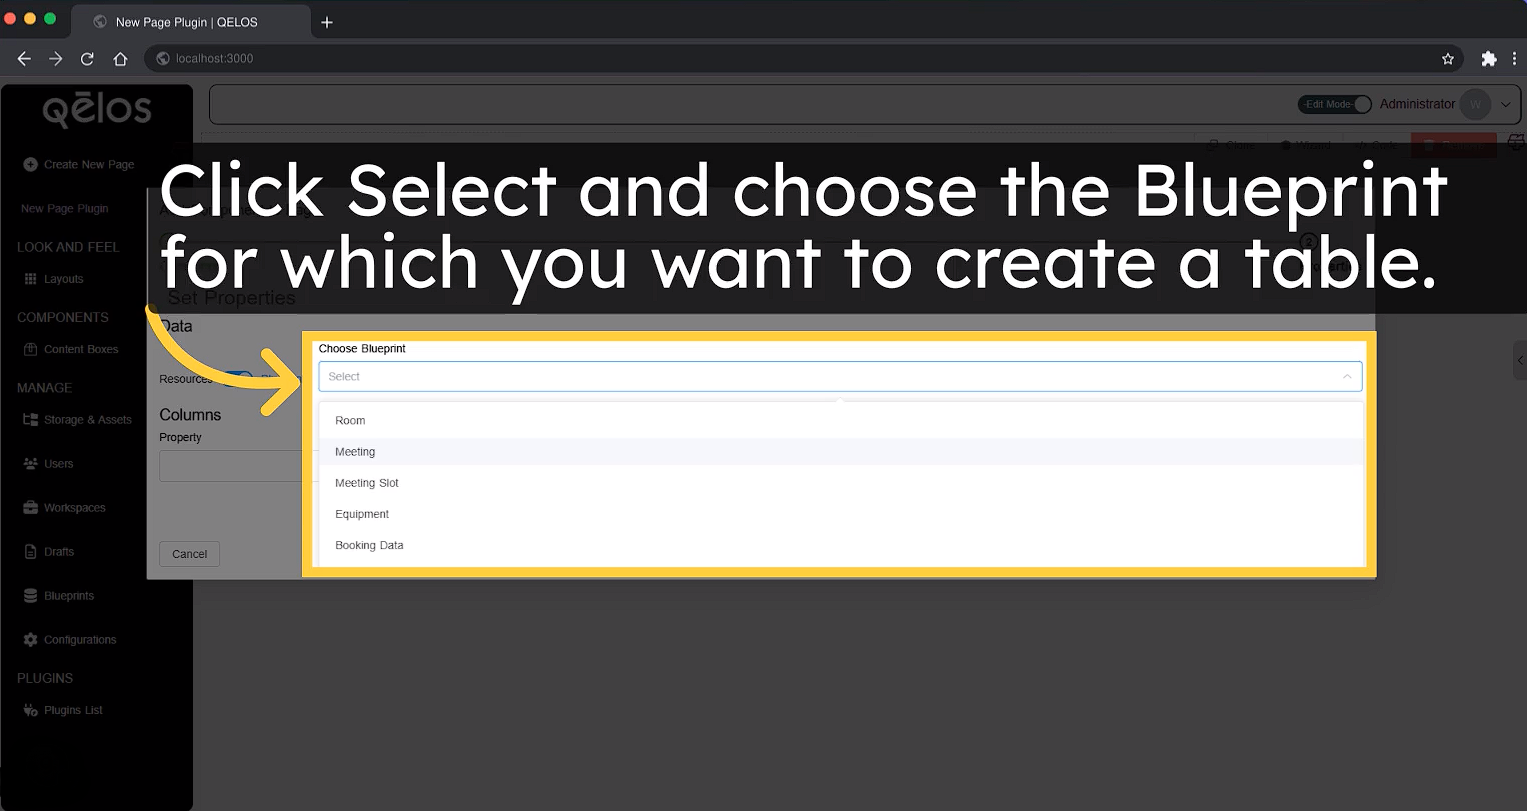
Click Select and choose the Blueprint for which you want to create a table.
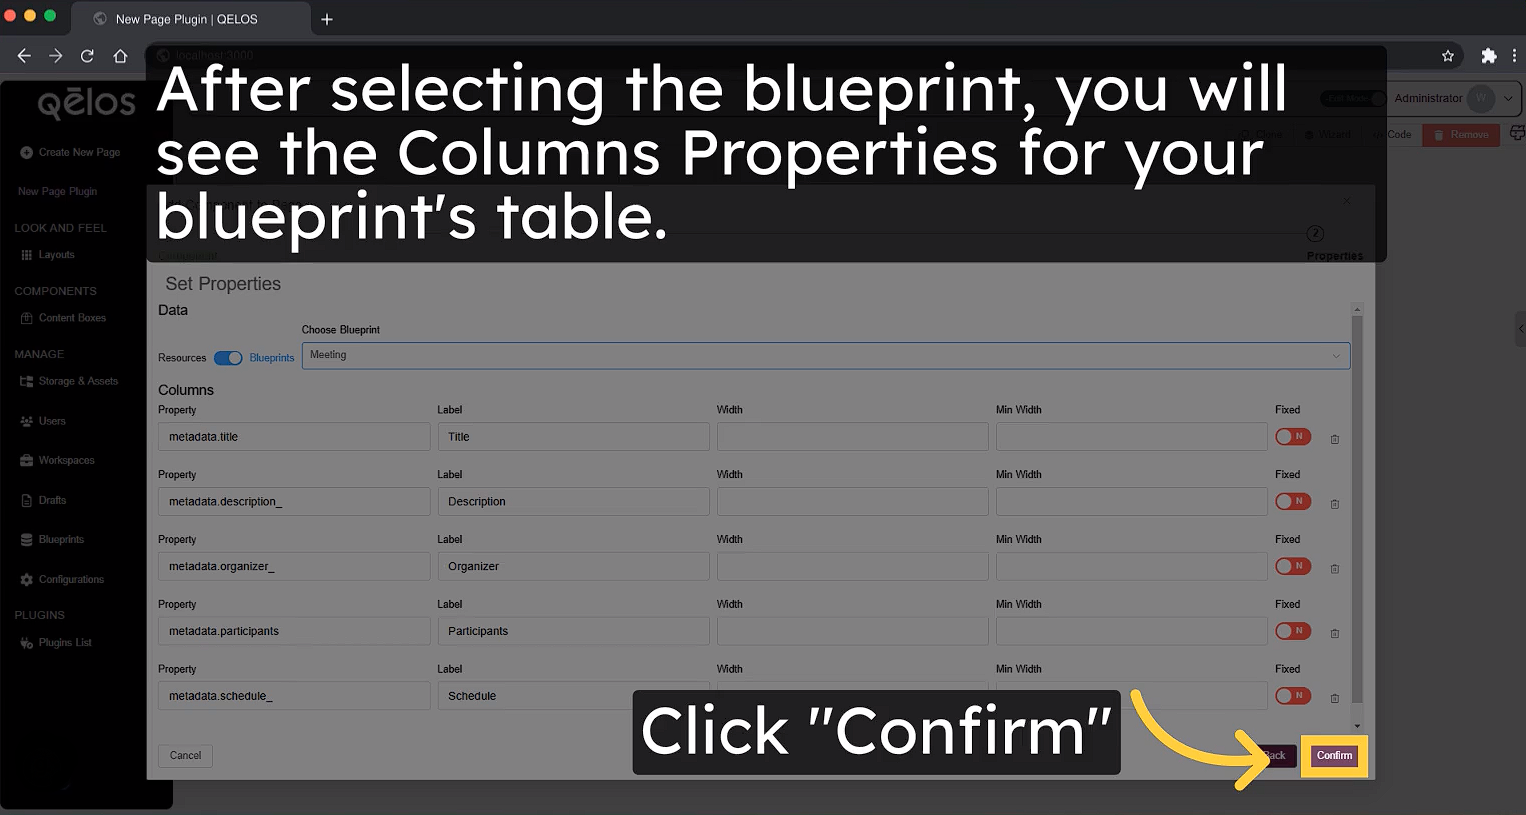
After selecting the blueprint, the Columns Properties for your blueprint's table will be displayed. To finalize the creation of the table, click Confirm.
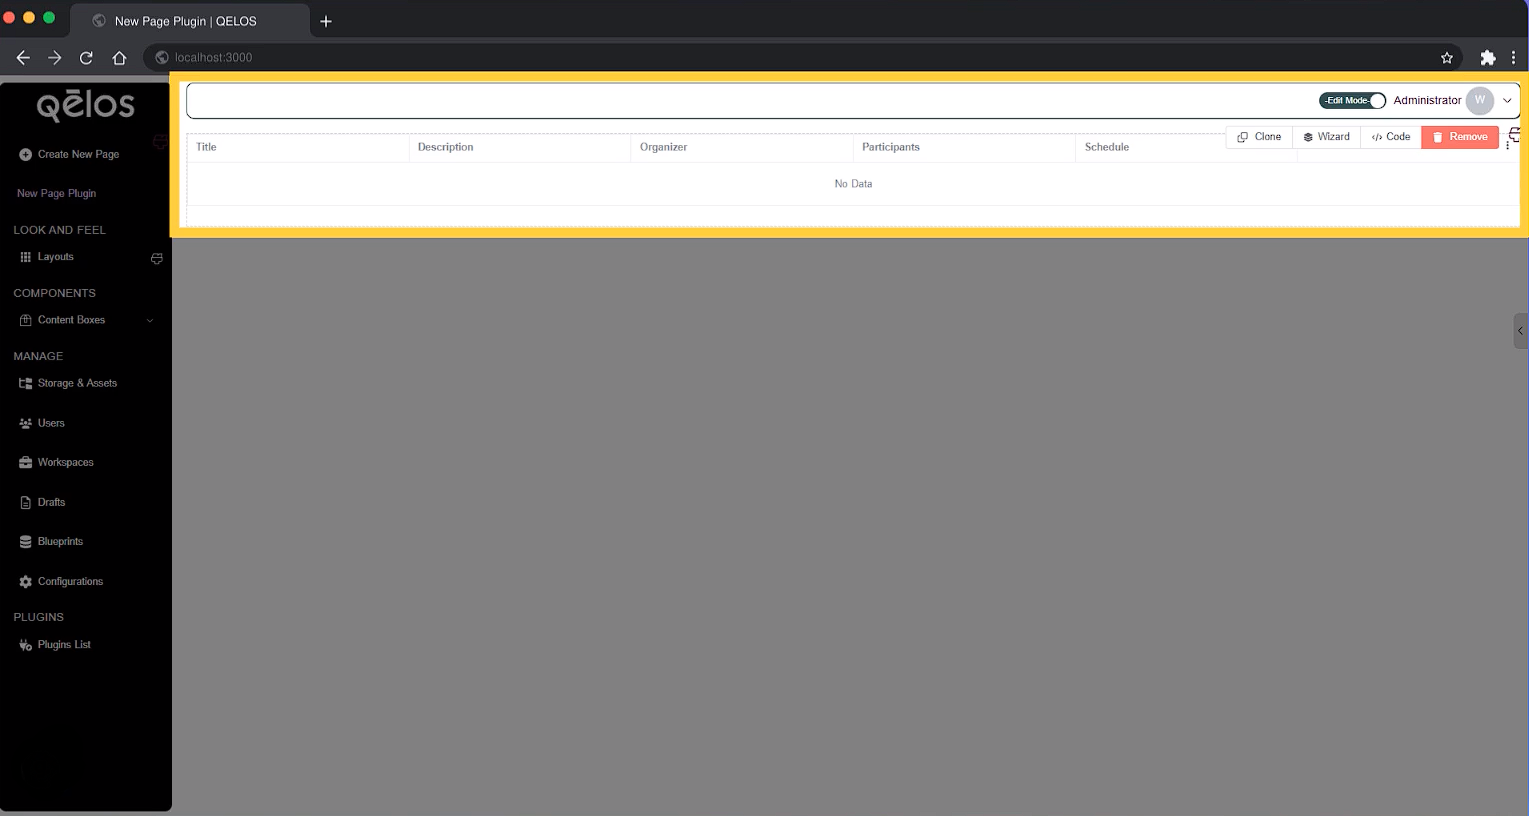
Once the table is created, it will appear on the plugin page.
What's Next?
The table you created includes Table Columns. To populate the table data, proceed to next step: creating a Blueprint Form.
5. Blueprint Form
The Blueprint Form tool allows you to quickly populate your Quick Table with data.
Step 1: Create a Blueprint Form
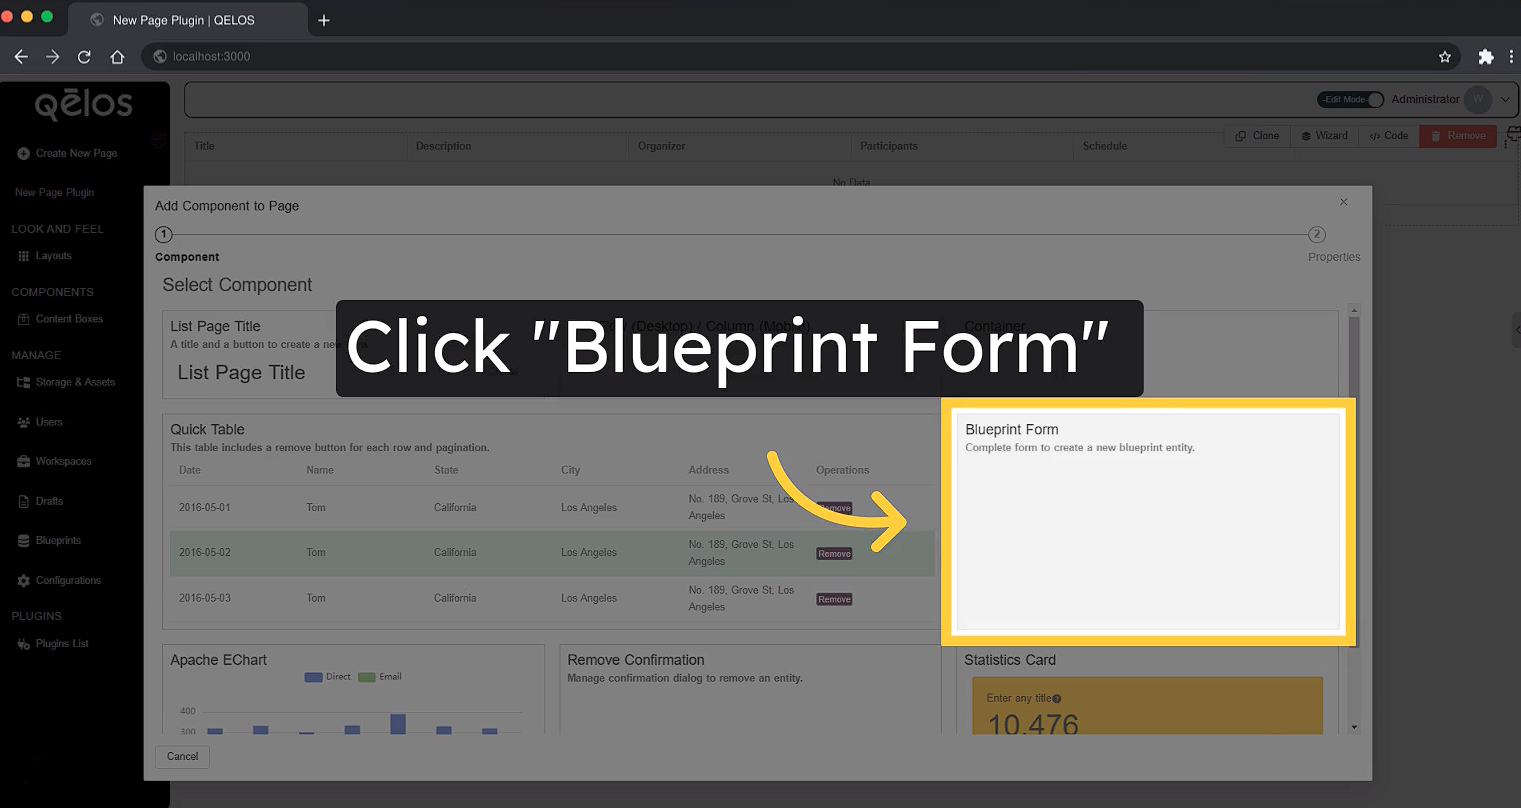
Click on the Blueprint Form tool.
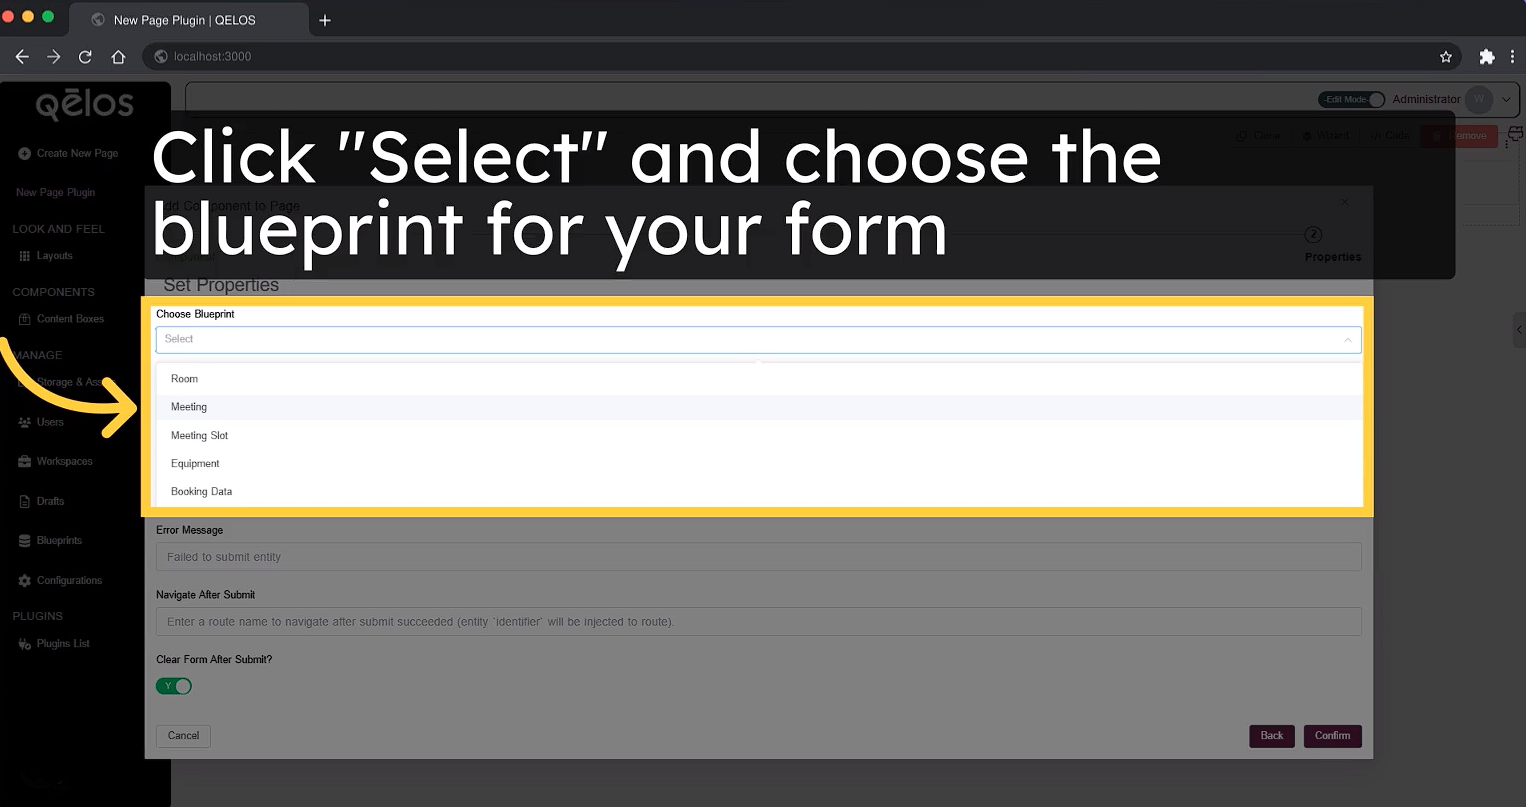
Select the Blueprint for which the form will be created.
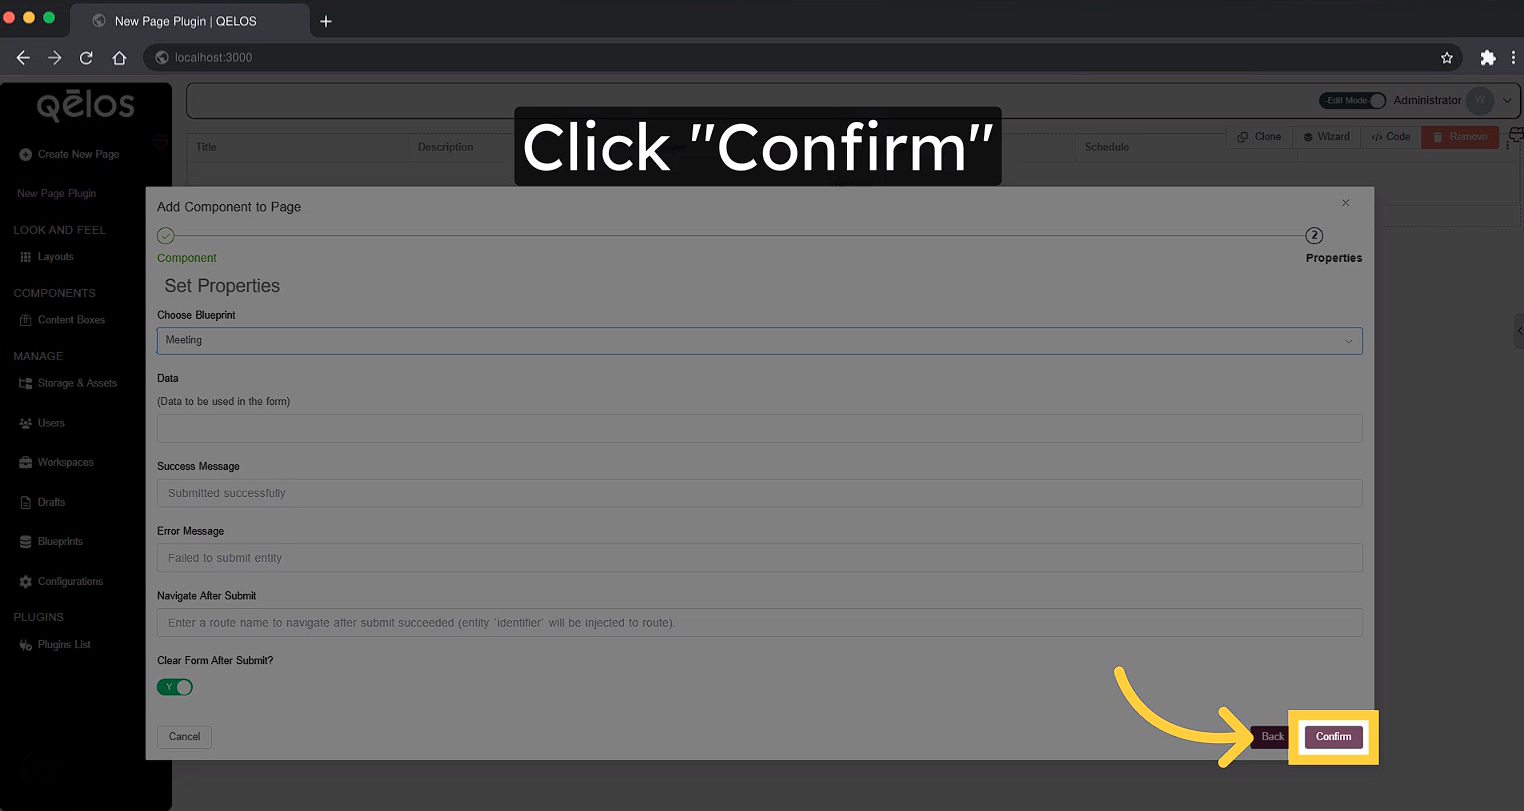
Click Confirm to finalize the creation of the Blueprint Form.
Step 2: Fill Out the Blueprint Form
The Blueprint Form will appear on the blueprint's page. Fill out the form with the necessary data.
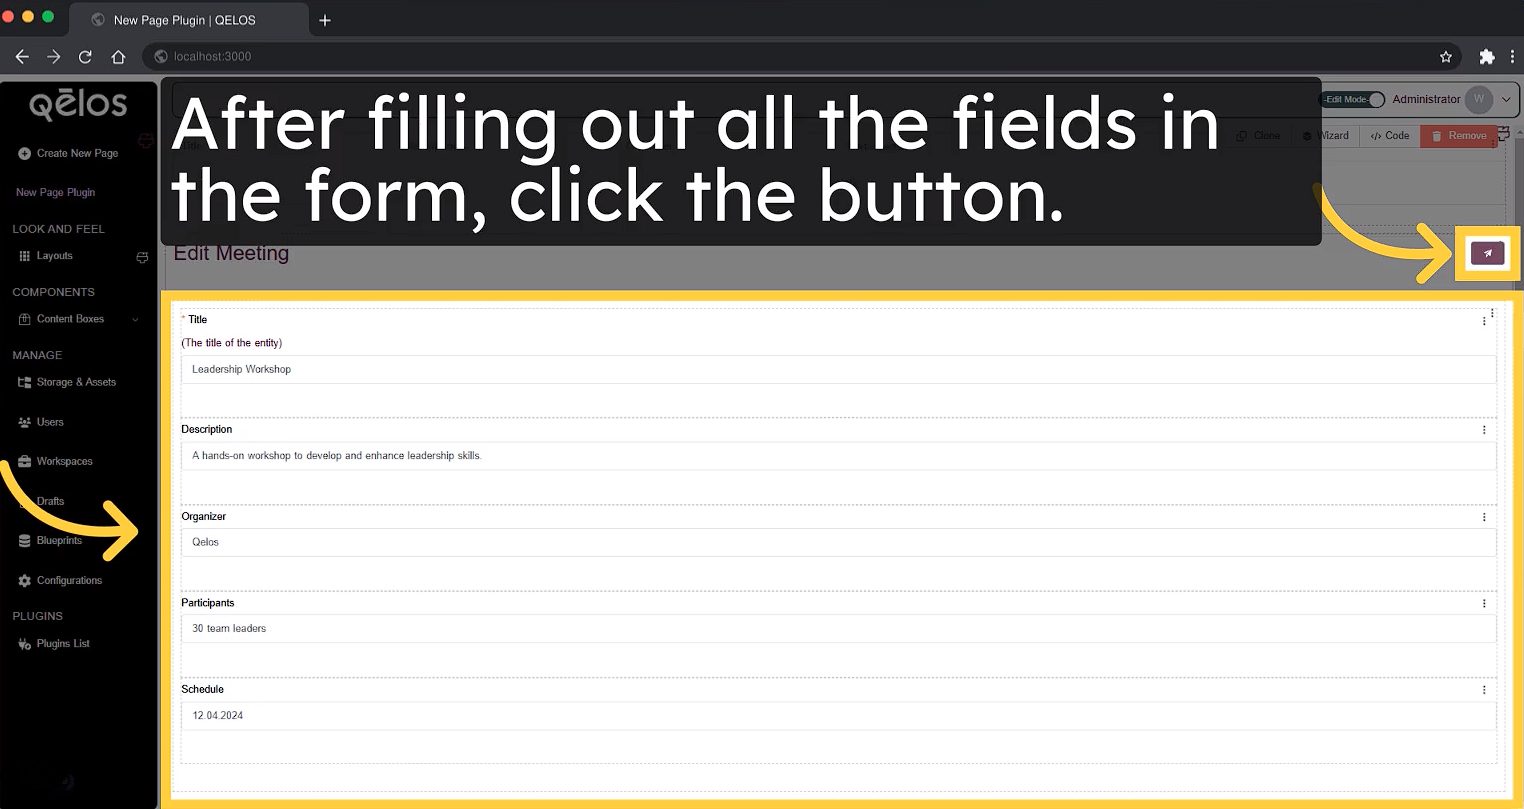
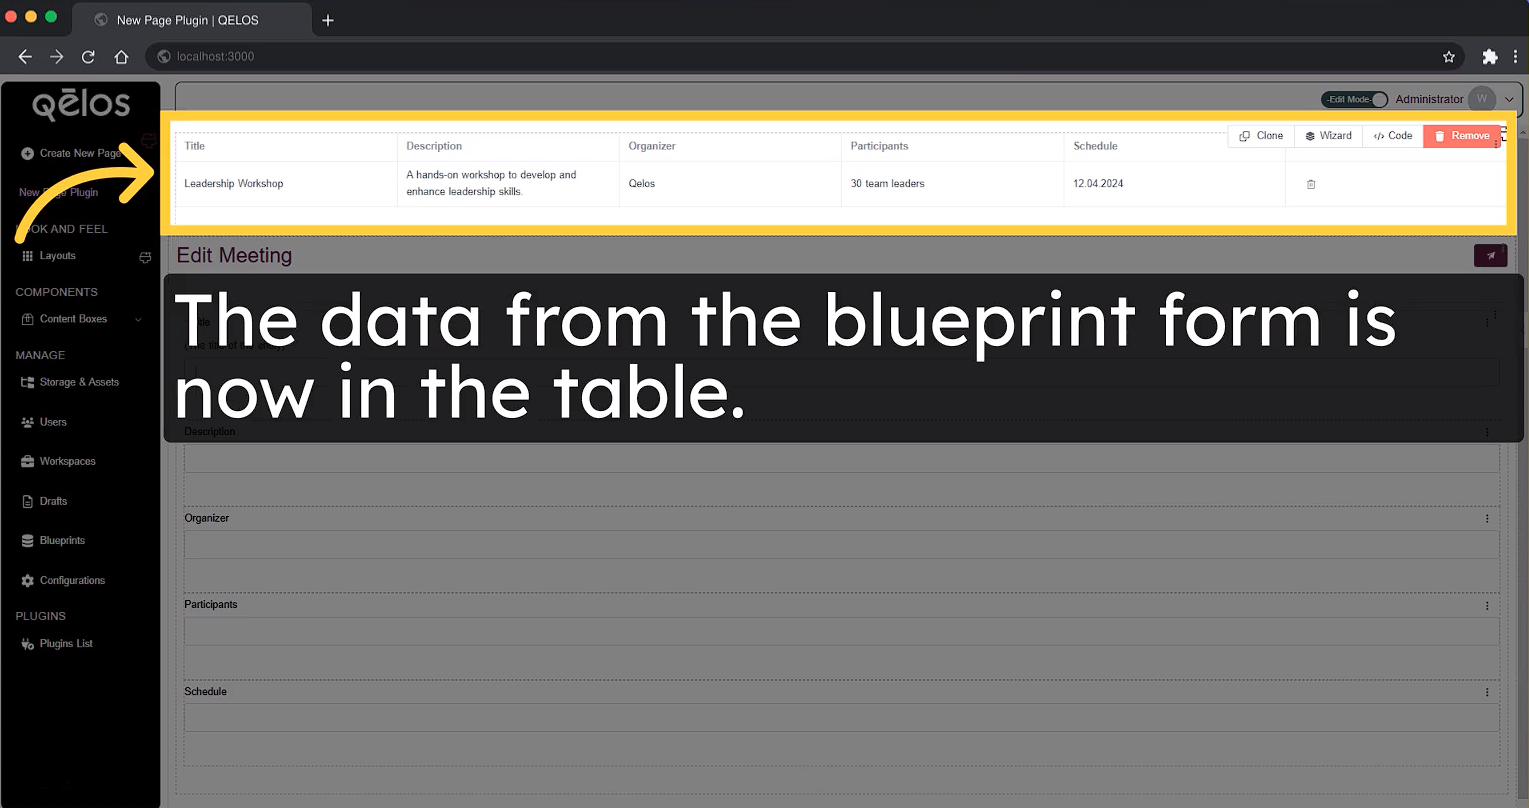
After submitting the form, the data you entered will be added to the table. You can now view your data directly in the table.
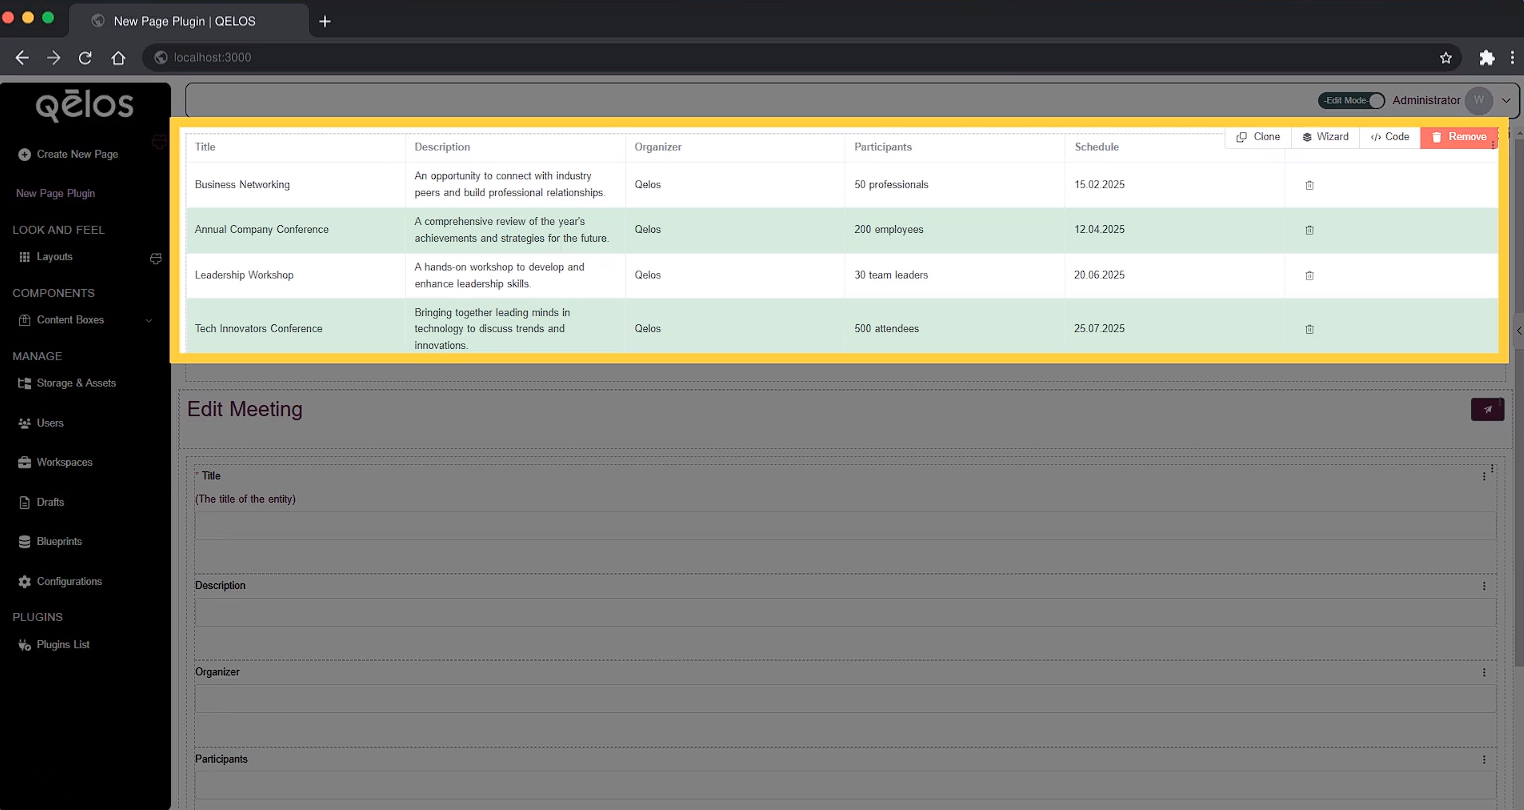
Step 3: Deleting the Record in the Blueprint Form
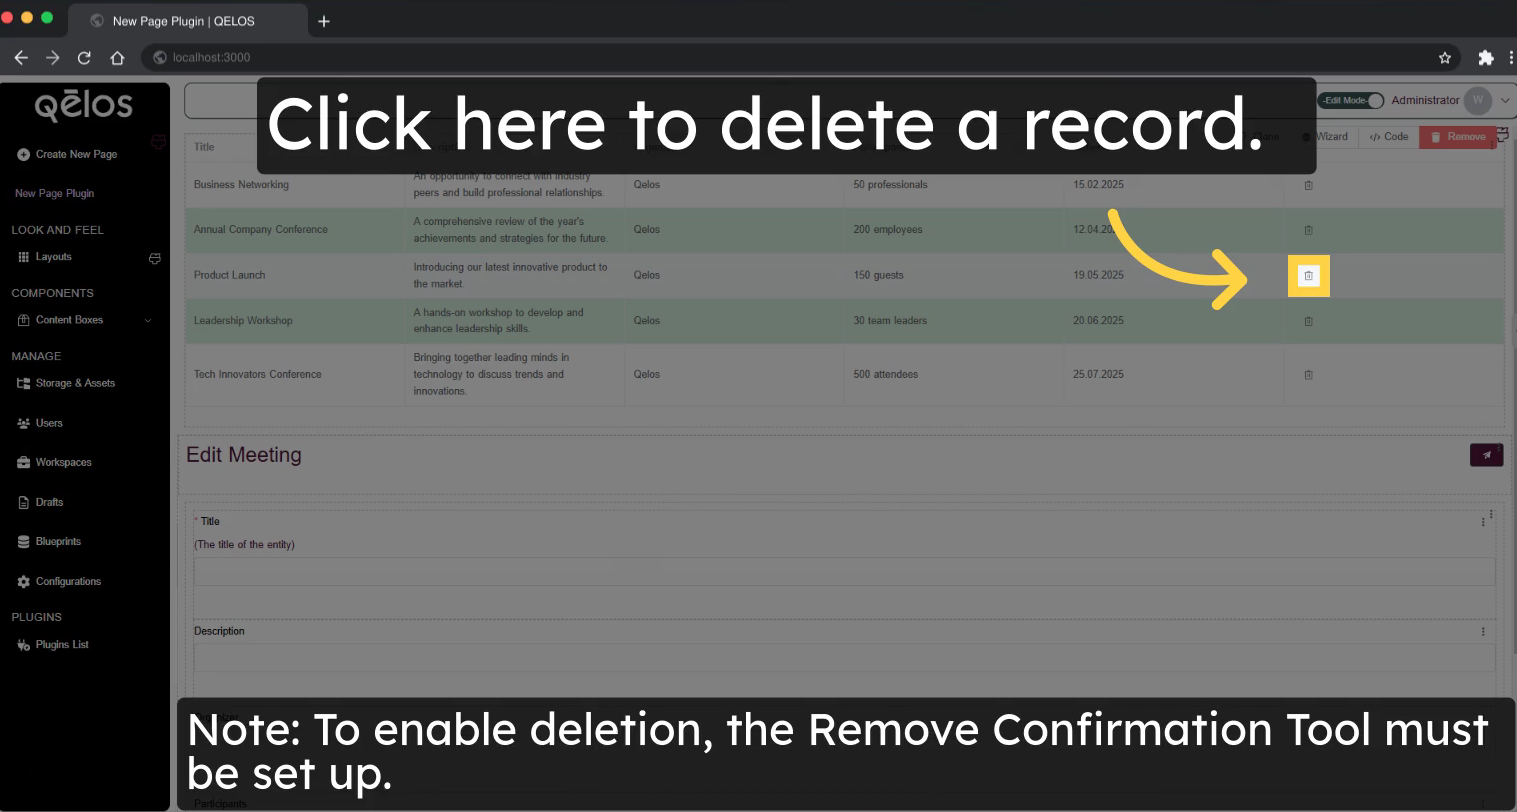
To delete a record, follow these steps:
Locate the Delete button next to the row you wish to remove and click it.
Important: By default, the delete button is inactive. To enable the delete functionality, ensure the Remove Confirmation Tool is set up.
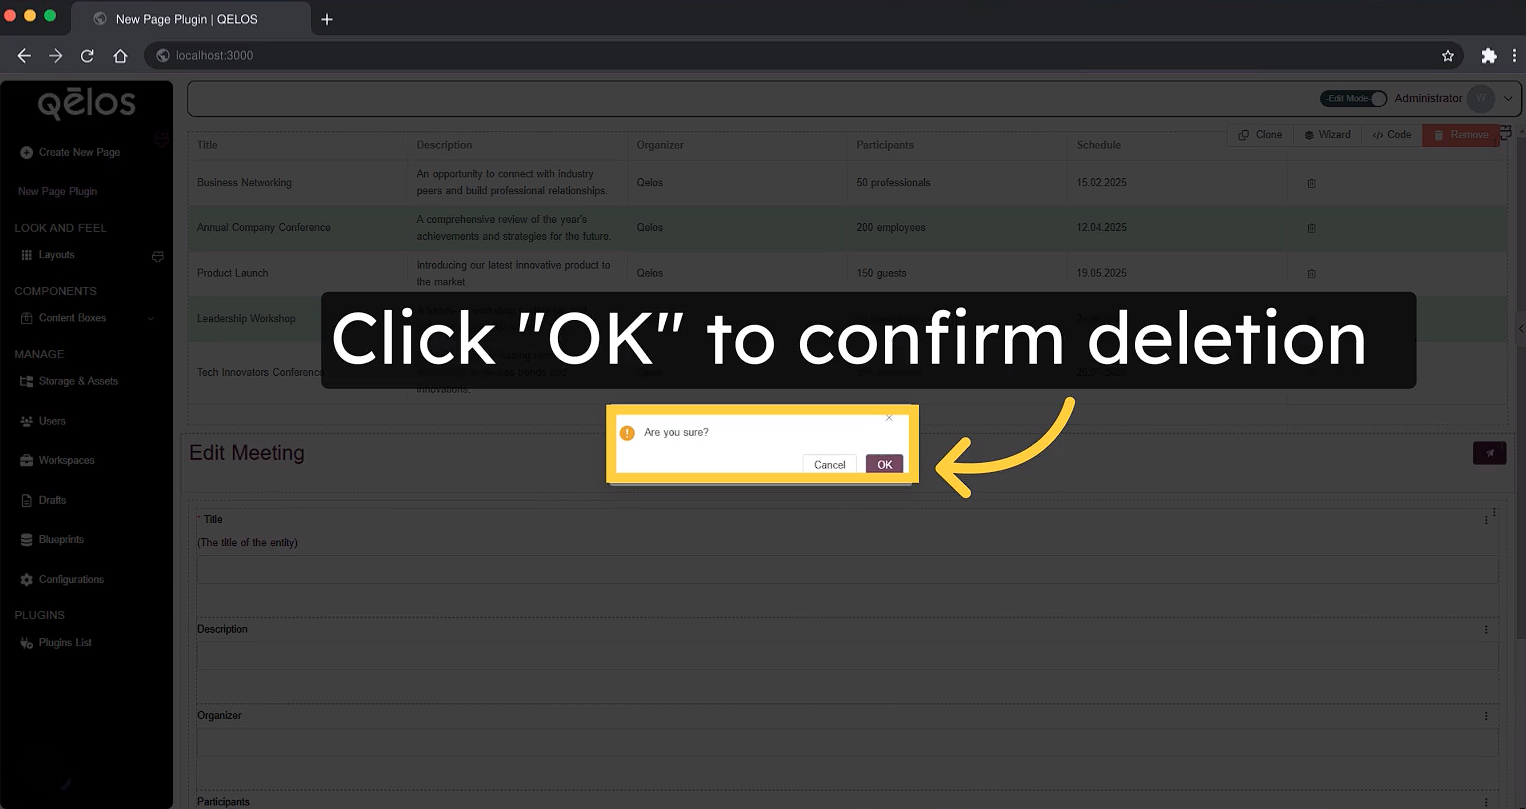
If the Remove Confirmation Tool is installed, clicking the delete button will display a confirmation dialog. In the confirmation dialog, click OK to confirm the deletion.
The record will be successfully removed from the table.
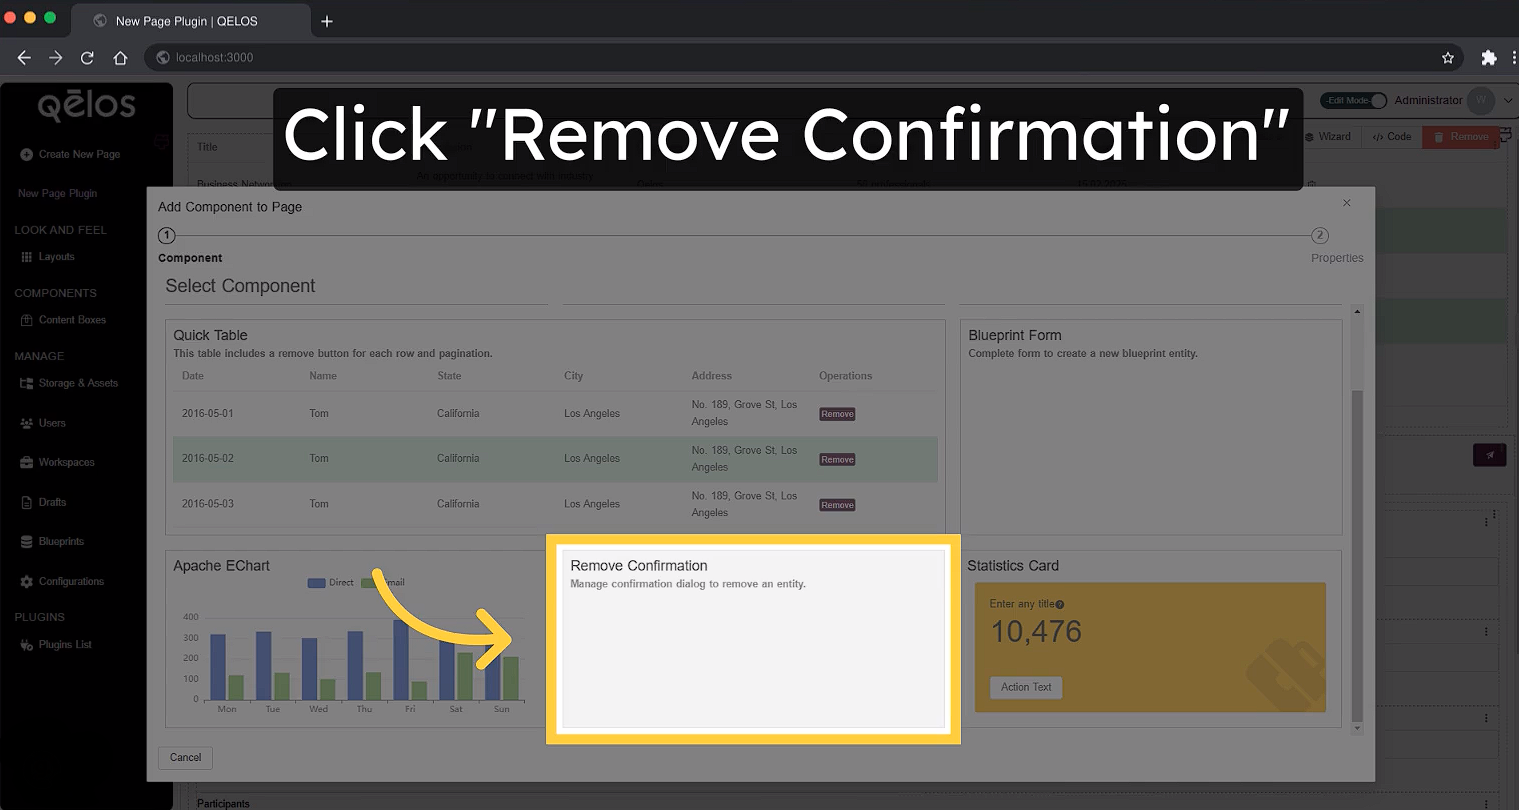
6. Remove Confirmation
Click on the Remove Confirmation tool.
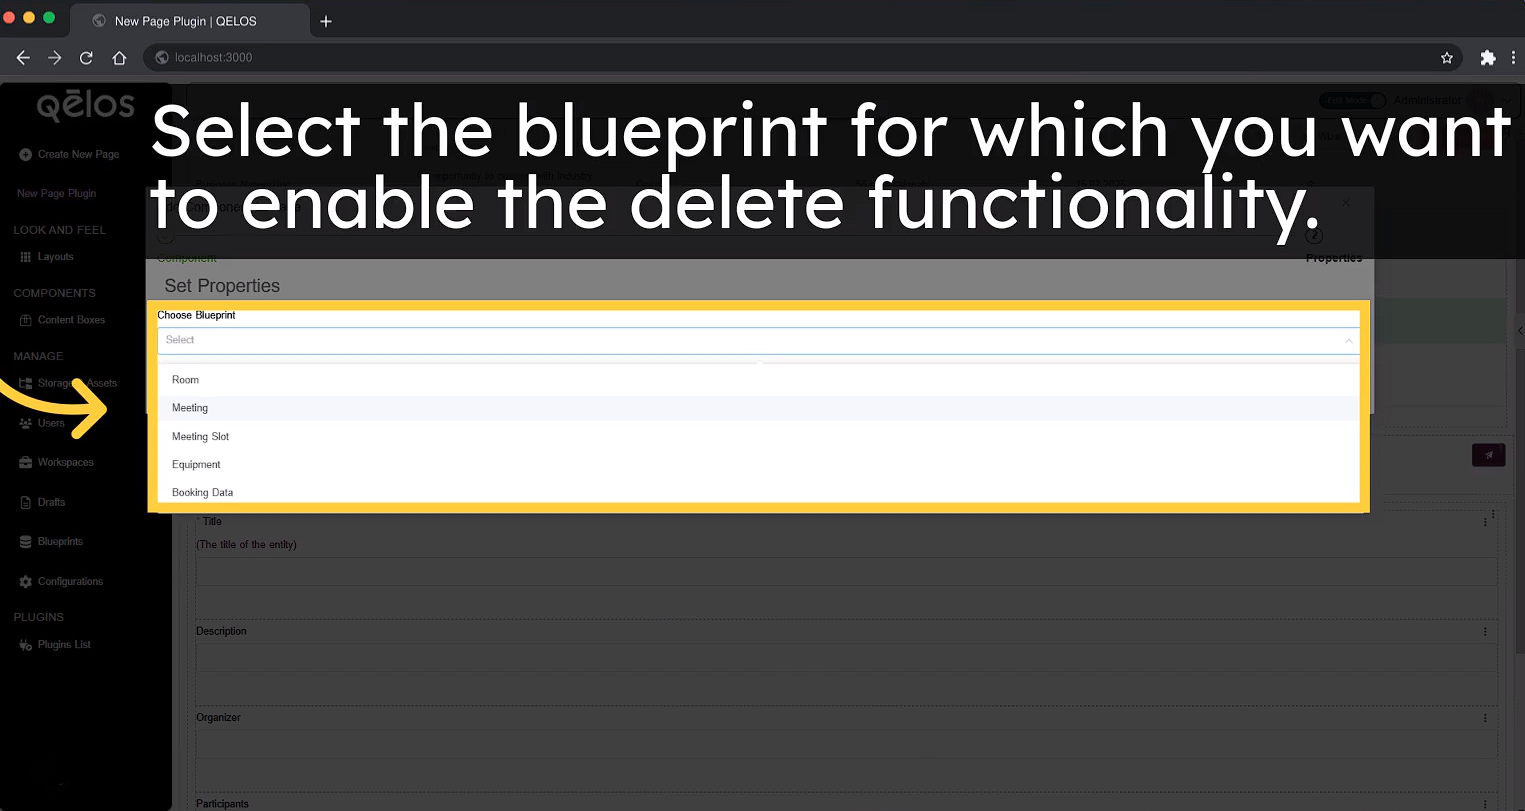
Select the blueprint where you want to enable the delete option.
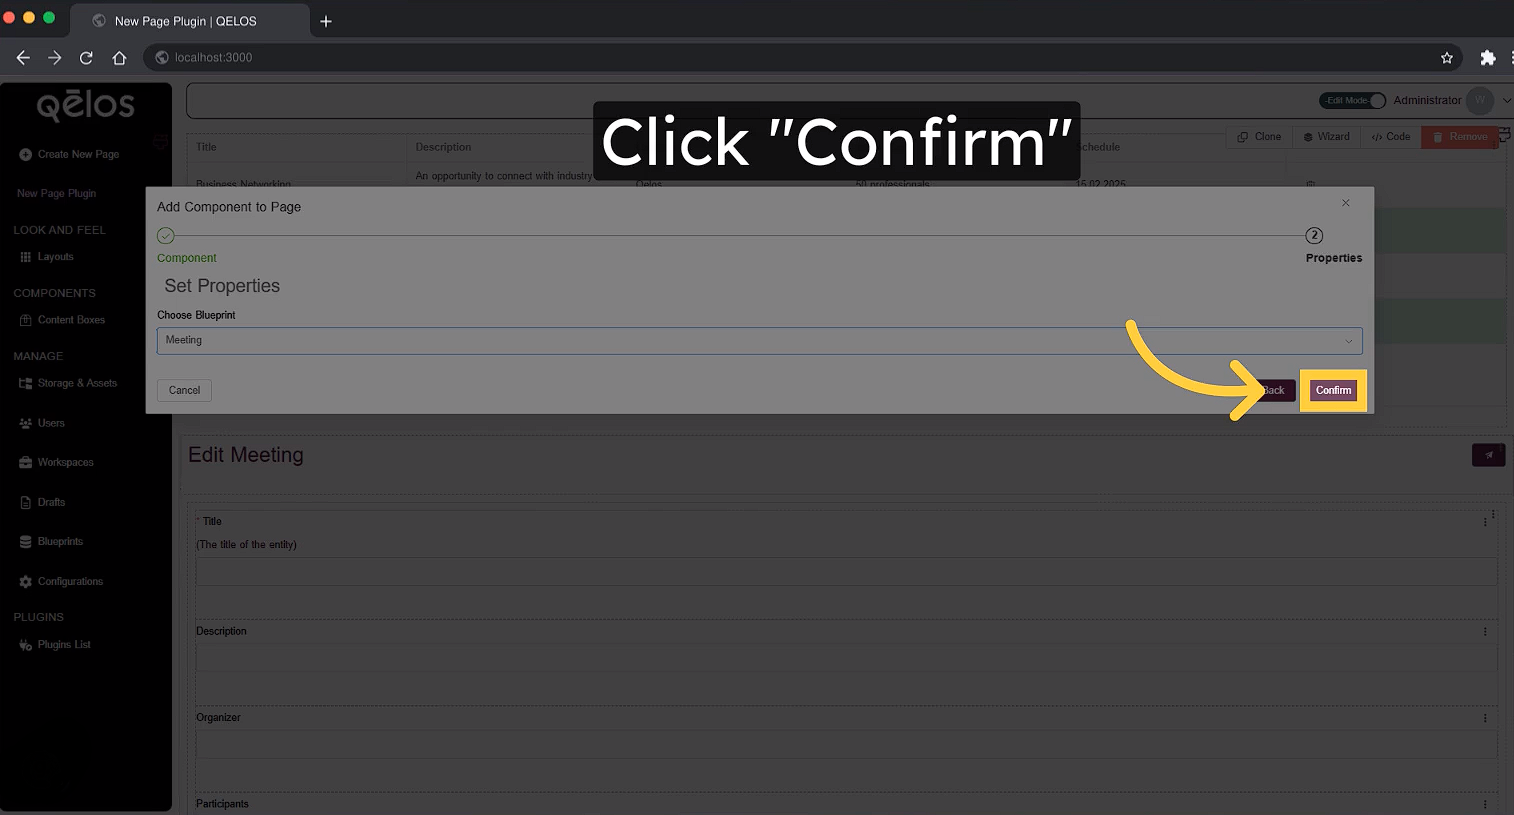
Click Confirm to finalize the creation of the Remove Confirmation tool.
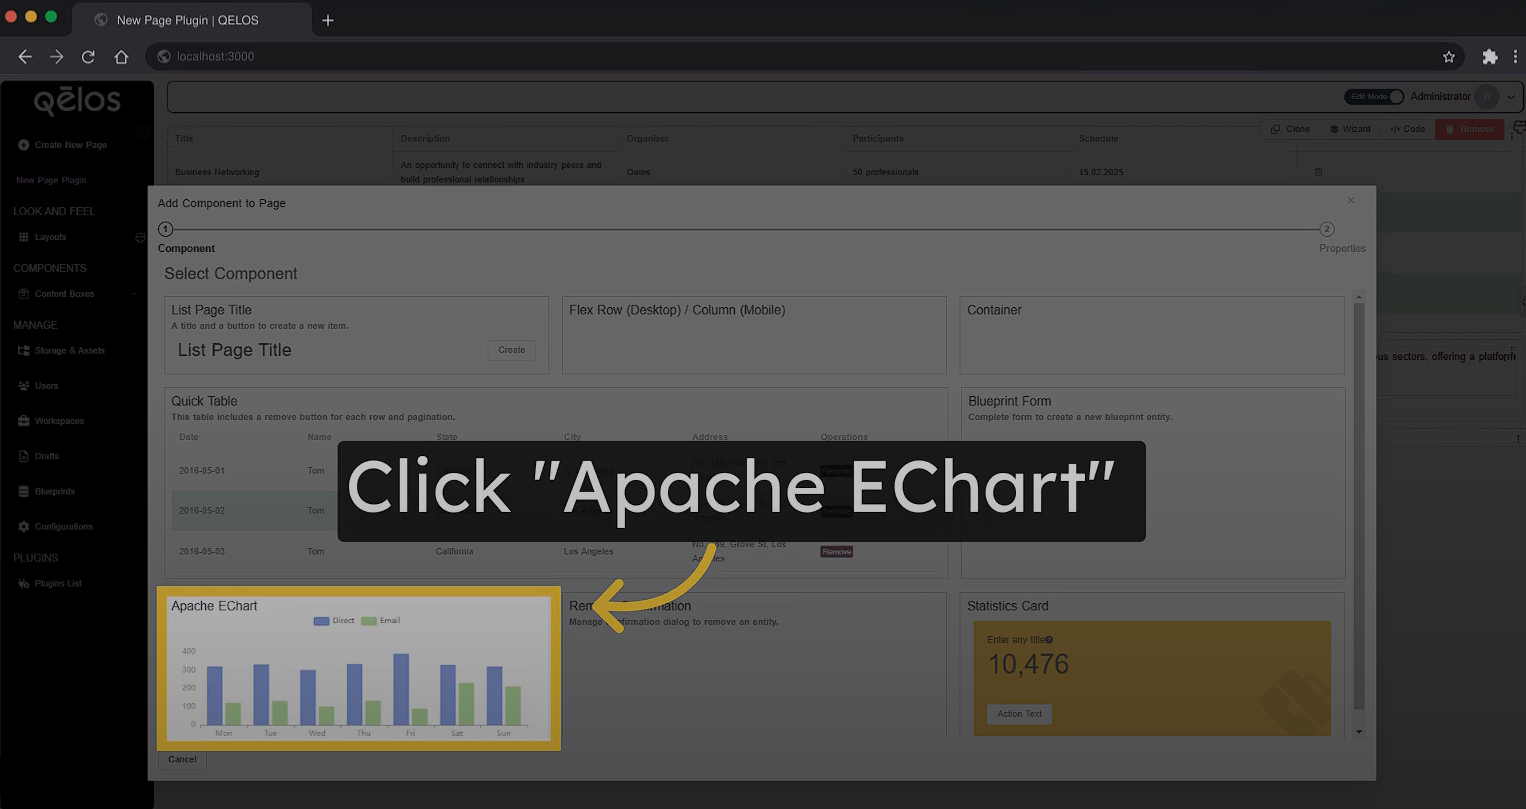
7. Apache EChart
The Apache EChart tool allows you to quickly create dynamic and interactive charts on your plugin page. It's ideal for visualizing data with customizable and visually appealing designs.
Click on the Apache EChart tool.
8. Statistics Card
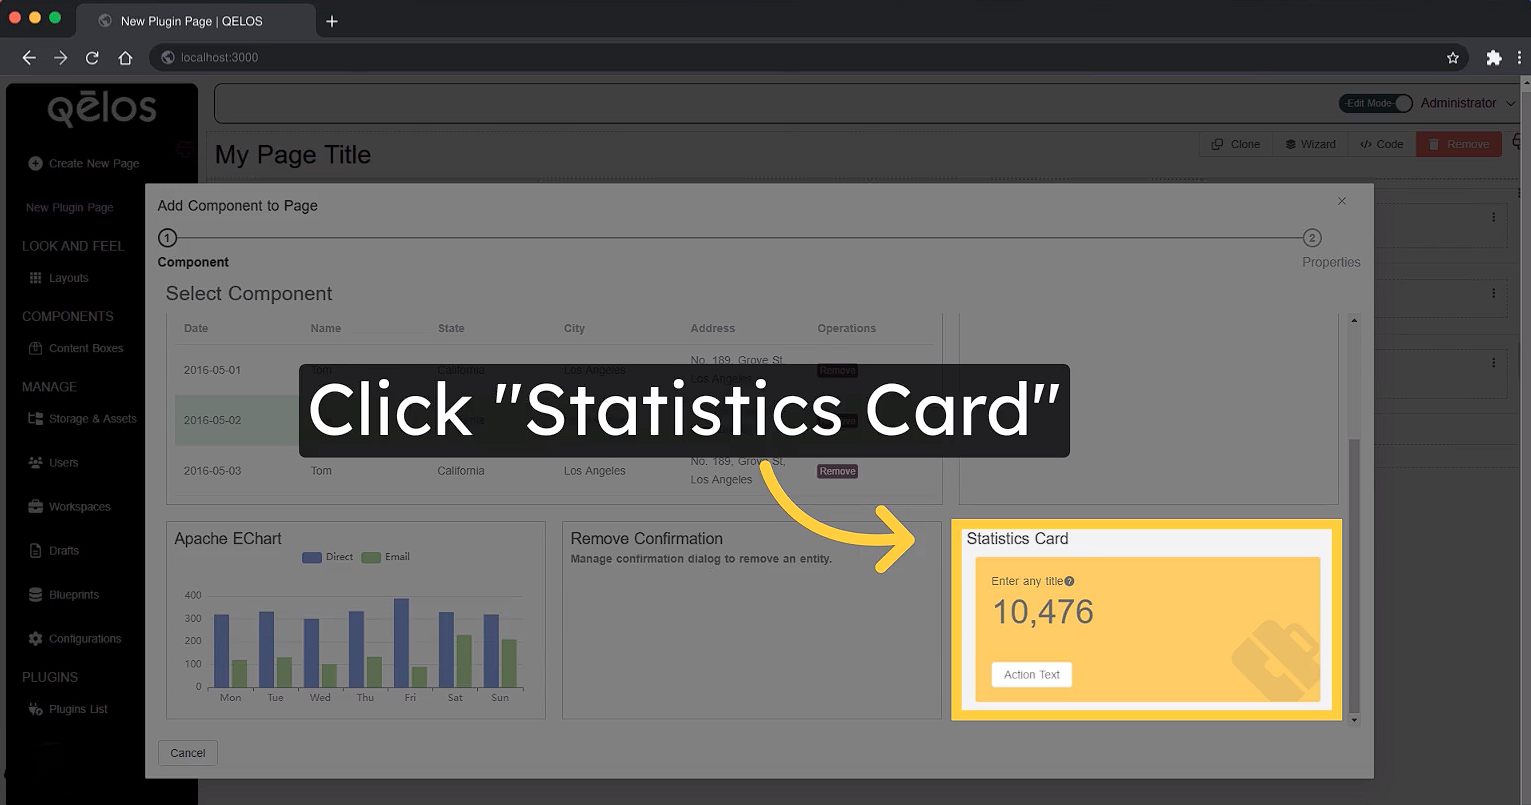
To create a statistics card, click on the Statistics Card tool. In the Form Modal that appears, you can enter all the necessary values. Below are the fields you need to fill out:
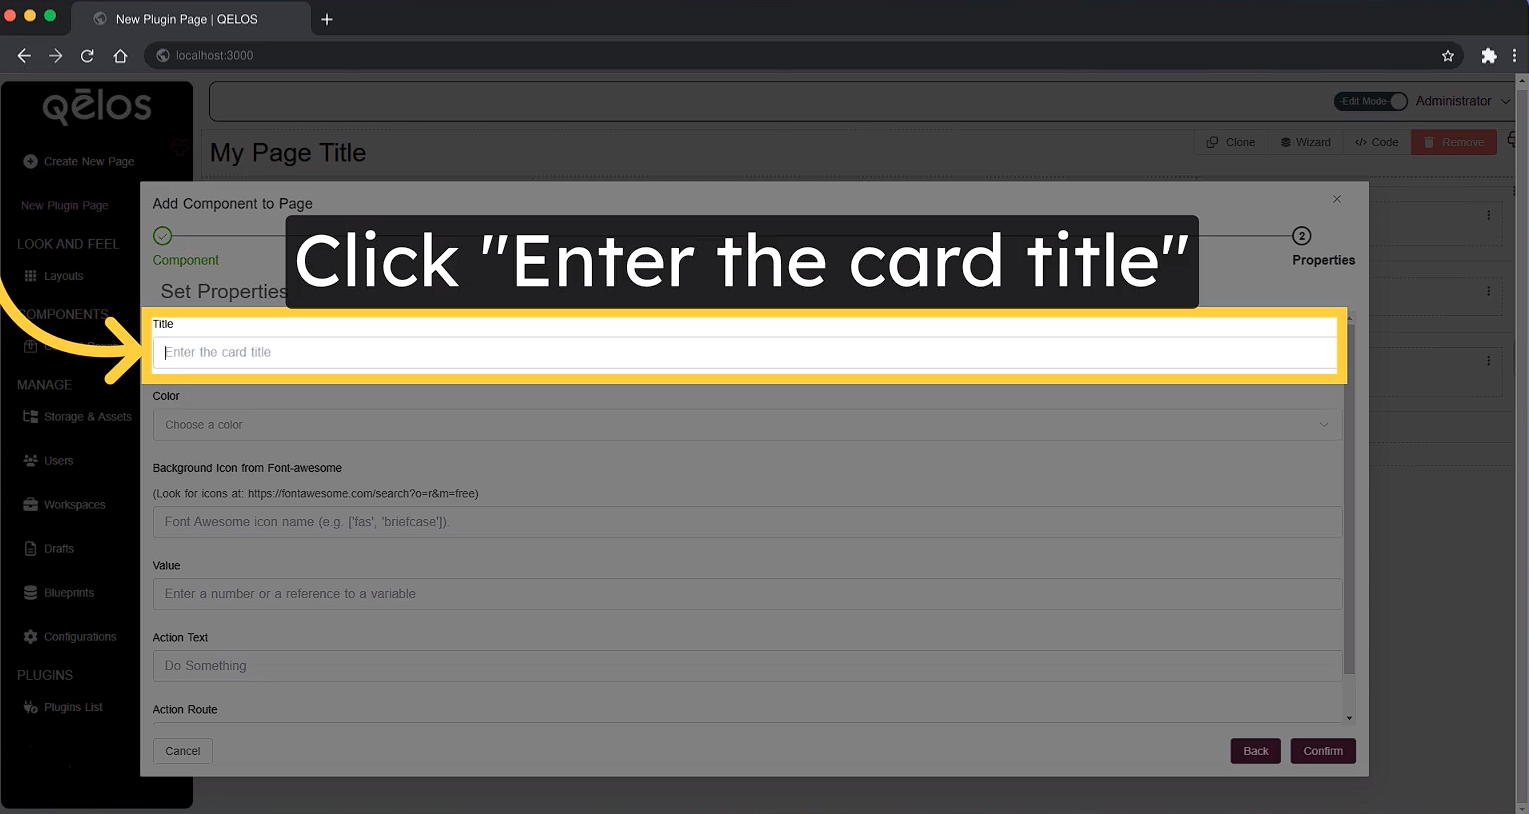
Title
In the Title field, enter the heading for your statistics card.
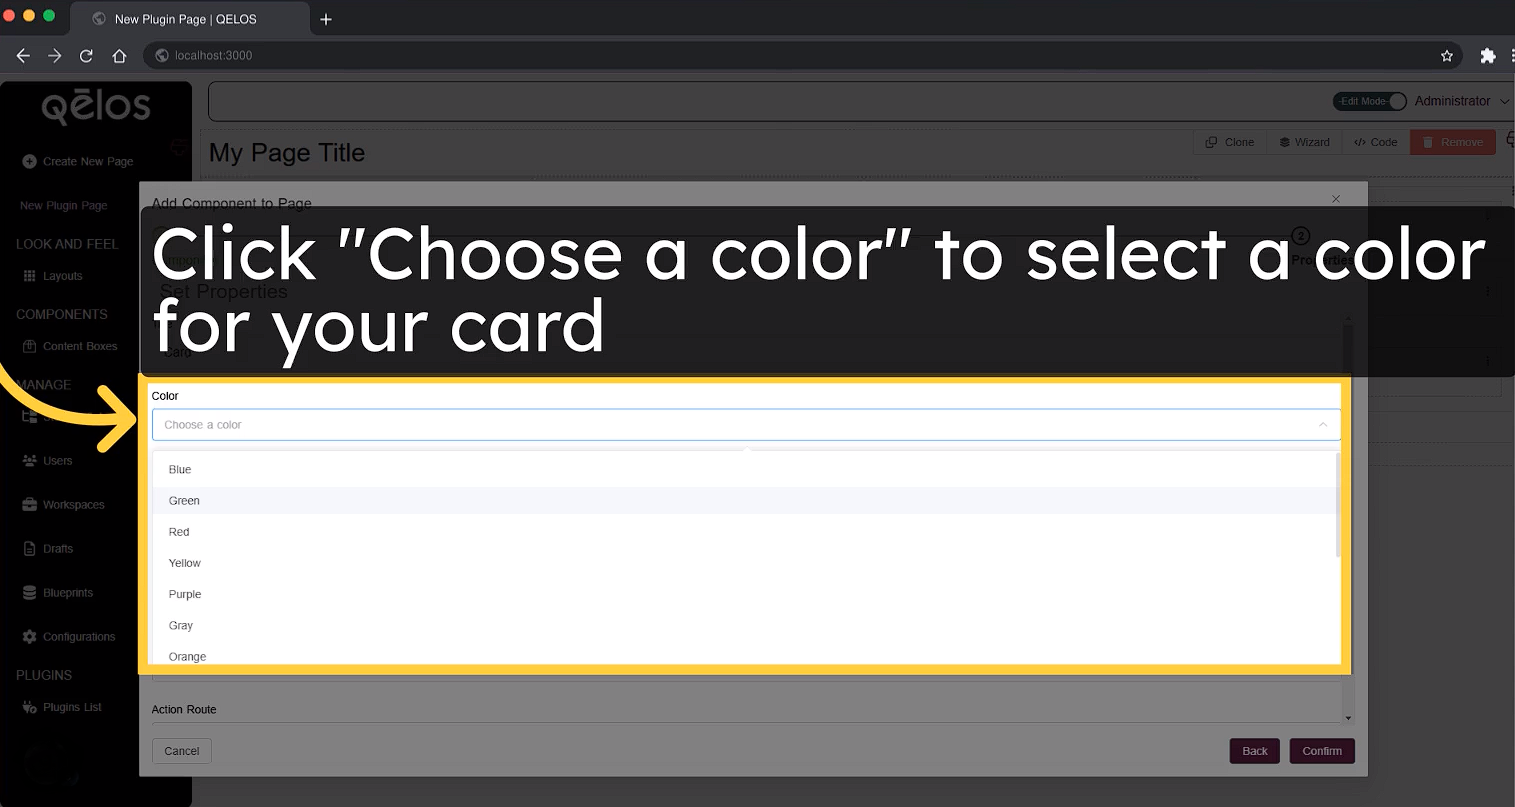
Color
Use the Color field to select the desired color for your card.
Background Icon
In the Background Icon field, you can add an icon from Font Awesome to display in the card's background.
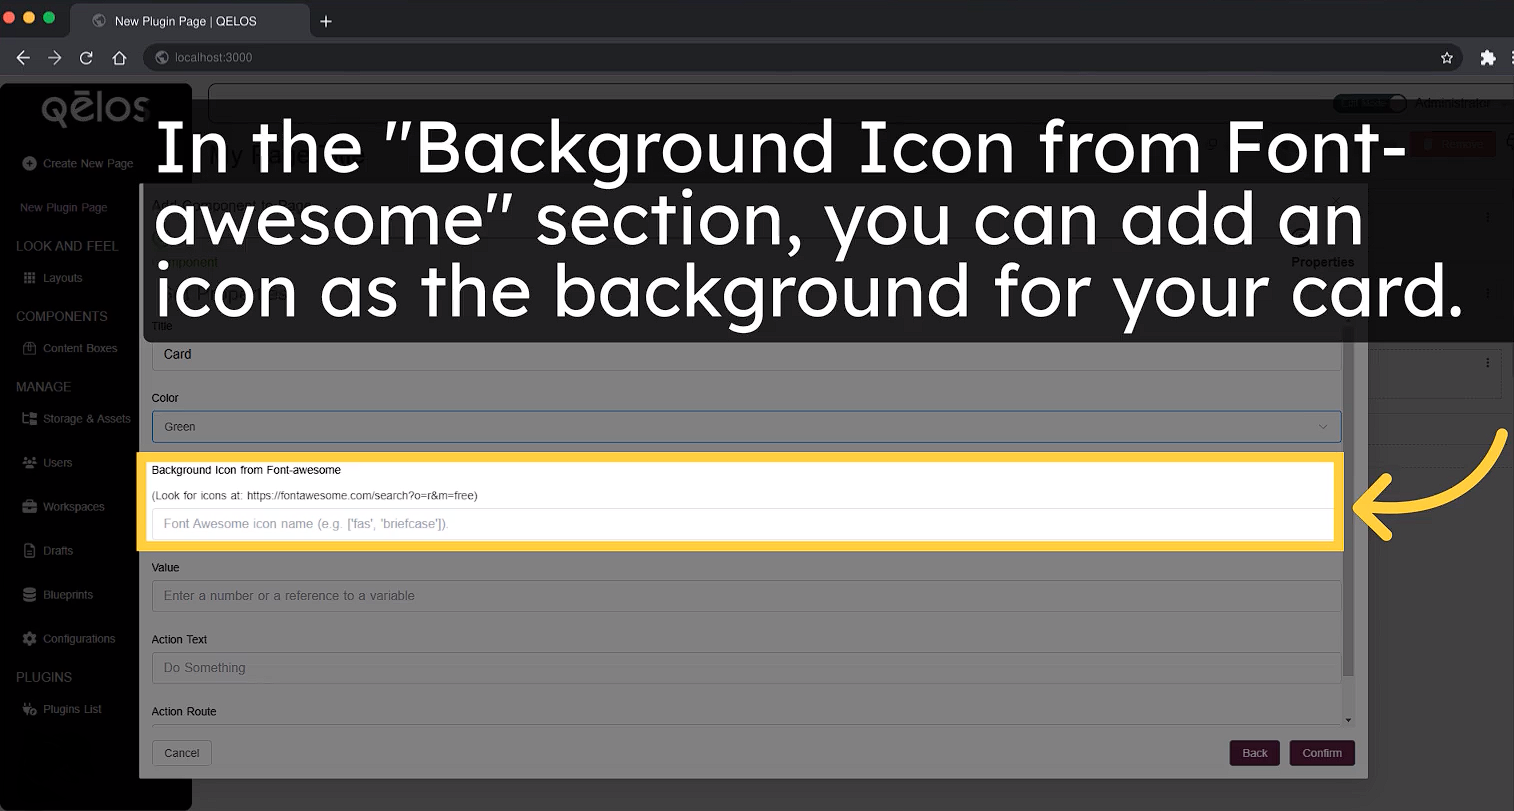
To select an icon:
- Visit Font Awesome's icon library.
- Click on the icon you want to use.
- Switch to the VUE format and copy the code snippet. For example, the code for the star icon looks like this:
<font-awesome-icon :icon="['far', 'star']" />- Paste only the array inside the square brackets into the Background Icon field. For the star icon, you would add:
['far', 'star']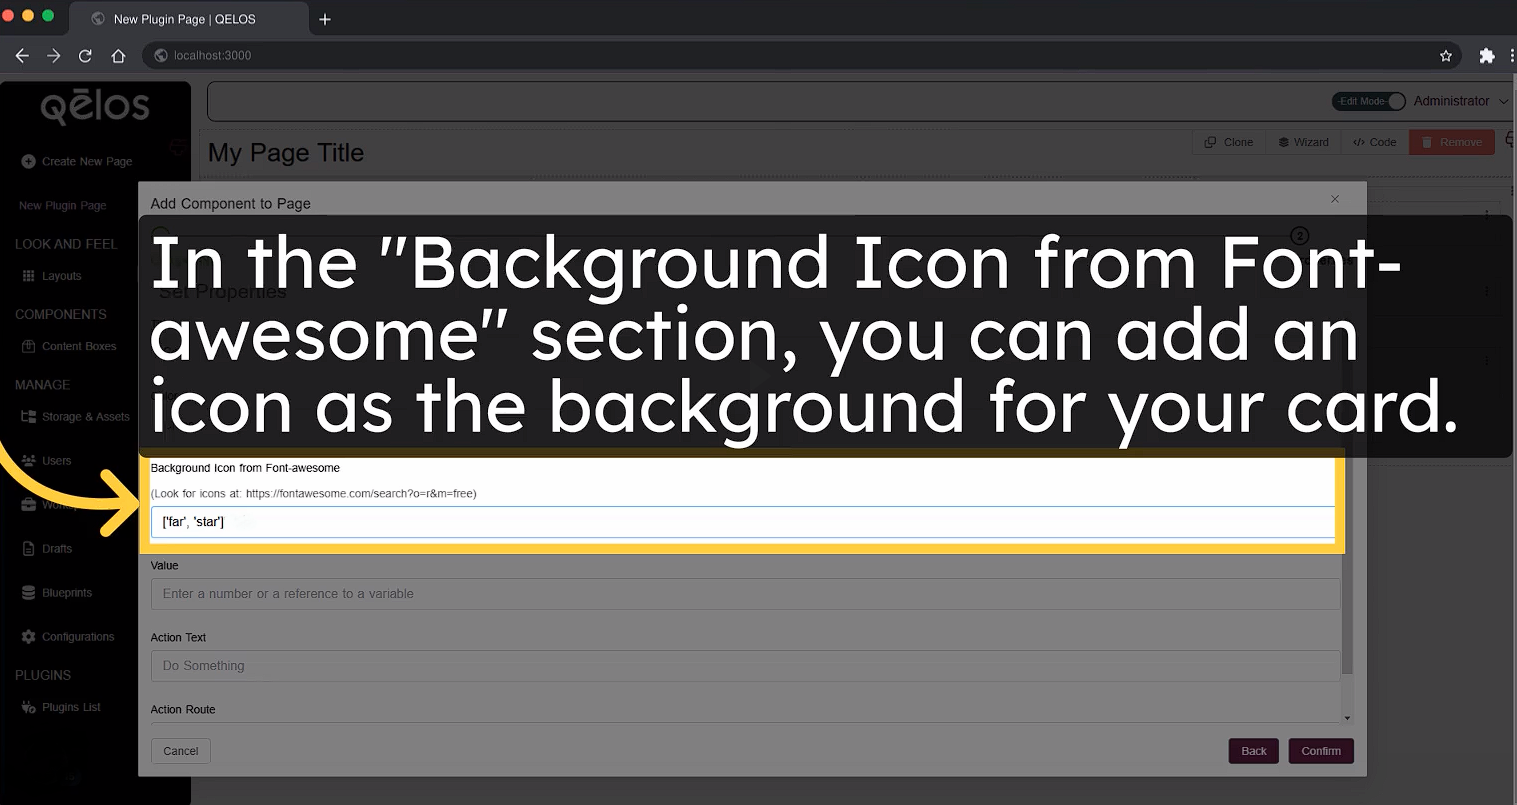
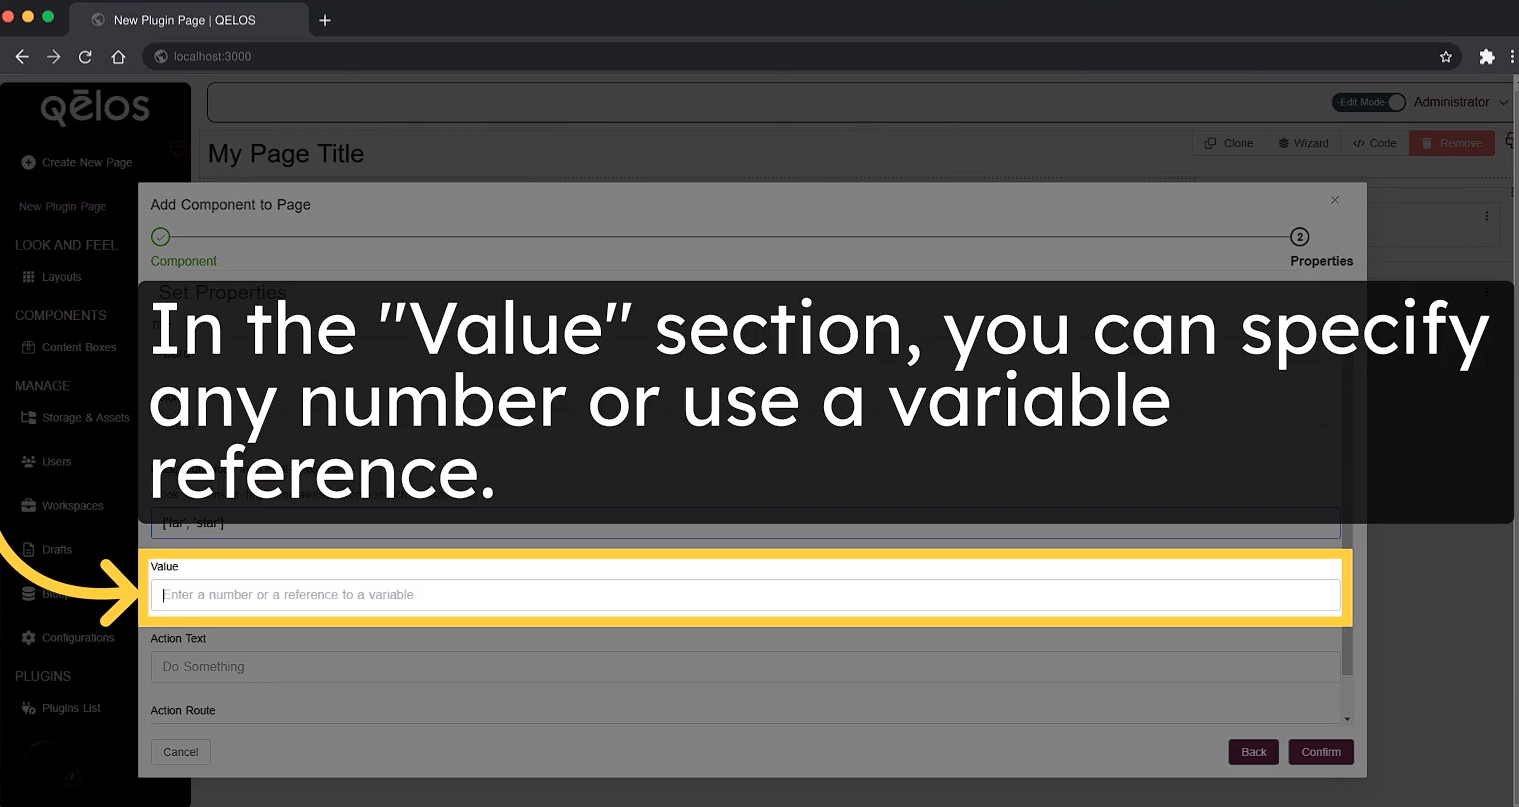
Value
Use the Value field to display any number or reference a variable.
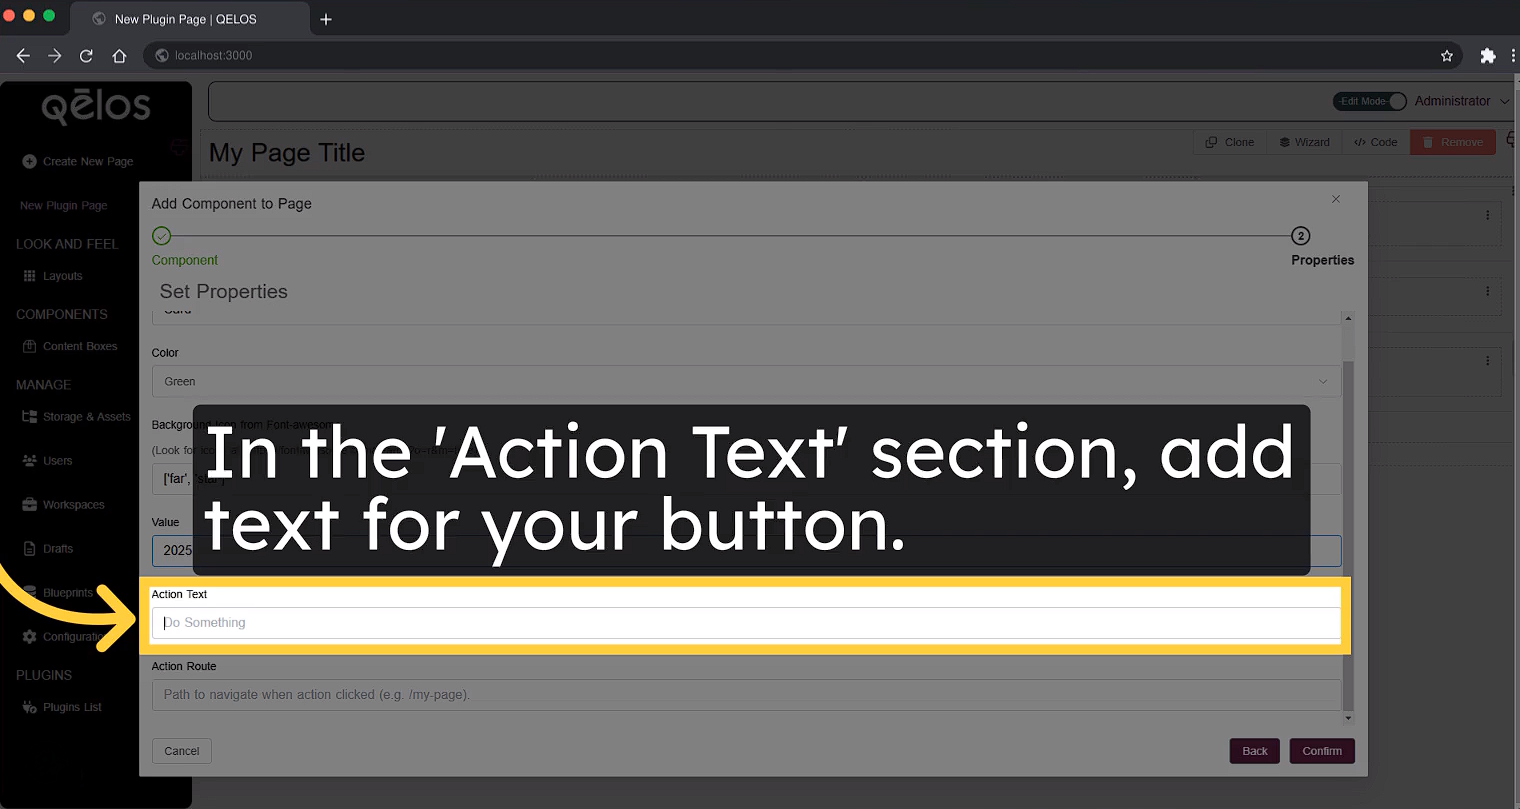
Action Text
In the Action Text field, enter the text you want to display on the card's action button.
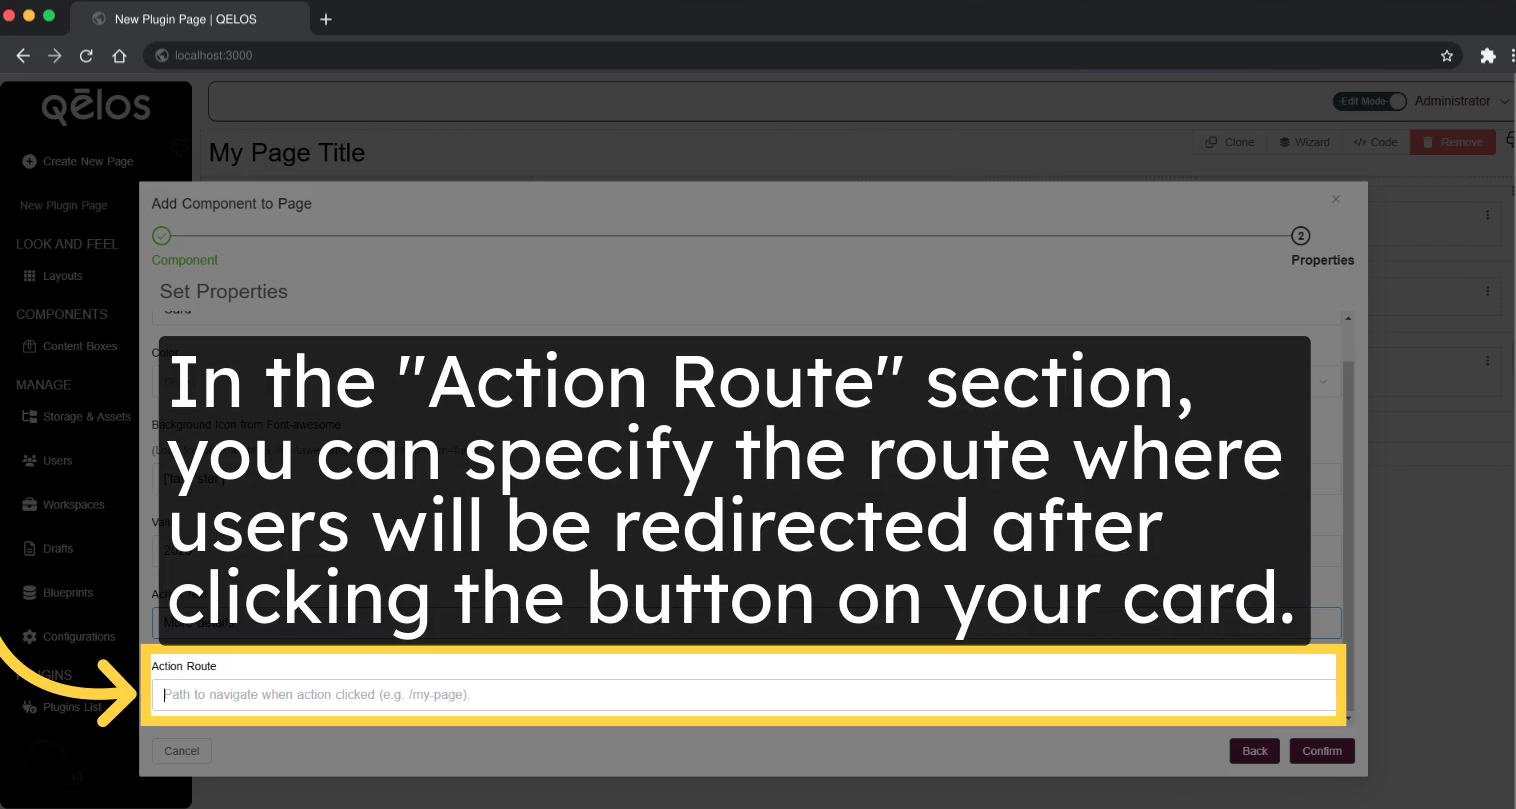
Action Route
Use the Action Route field to specify the route users will be redirected to when they click the card’s action button. Enter the route in the format /your-page, for example, /page.
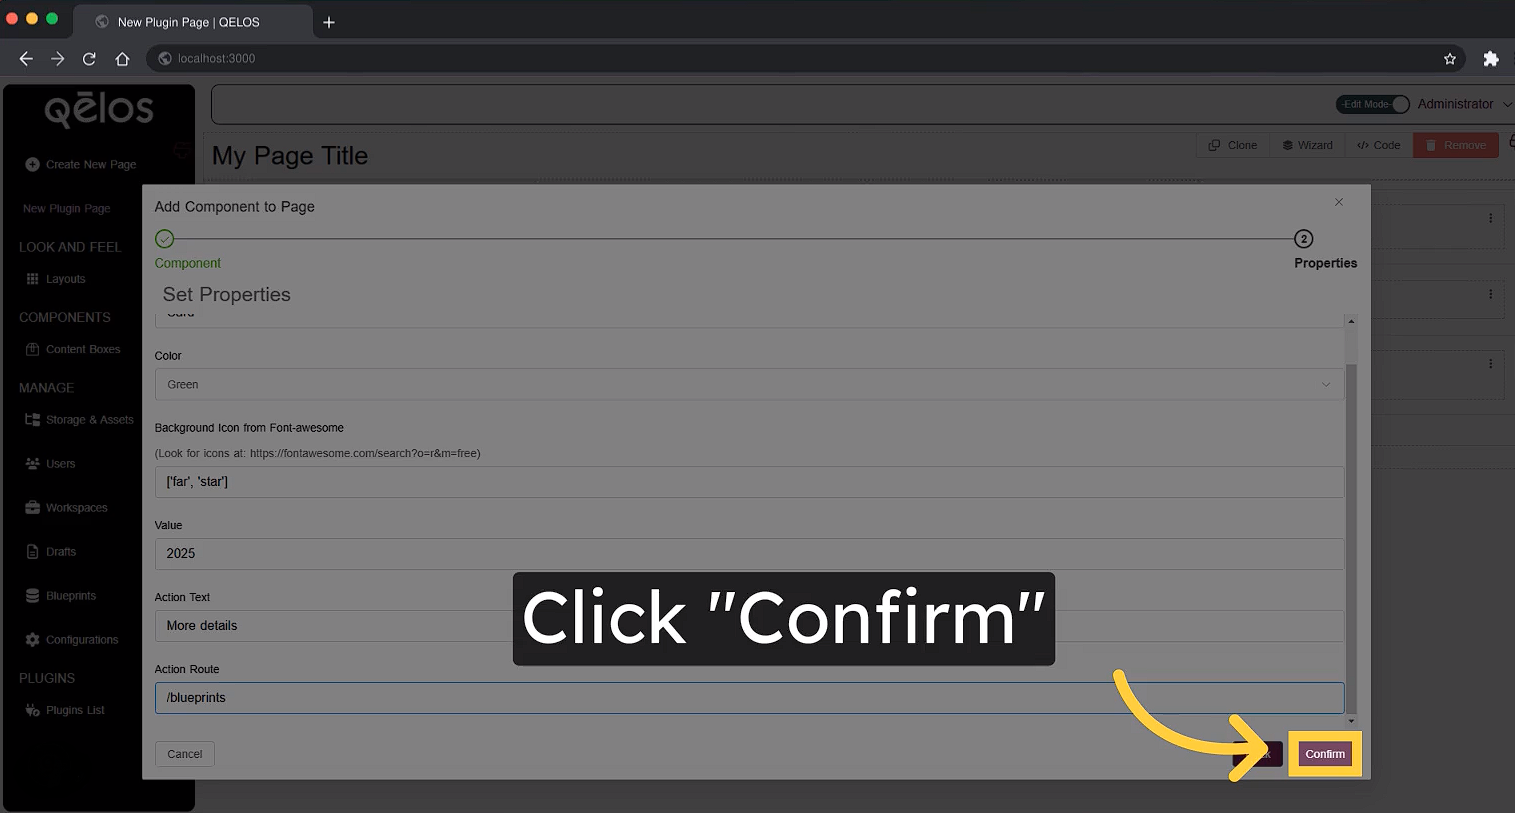
Finalizing the Card
After filling out all the fields, click Confirm to save your statistics card.
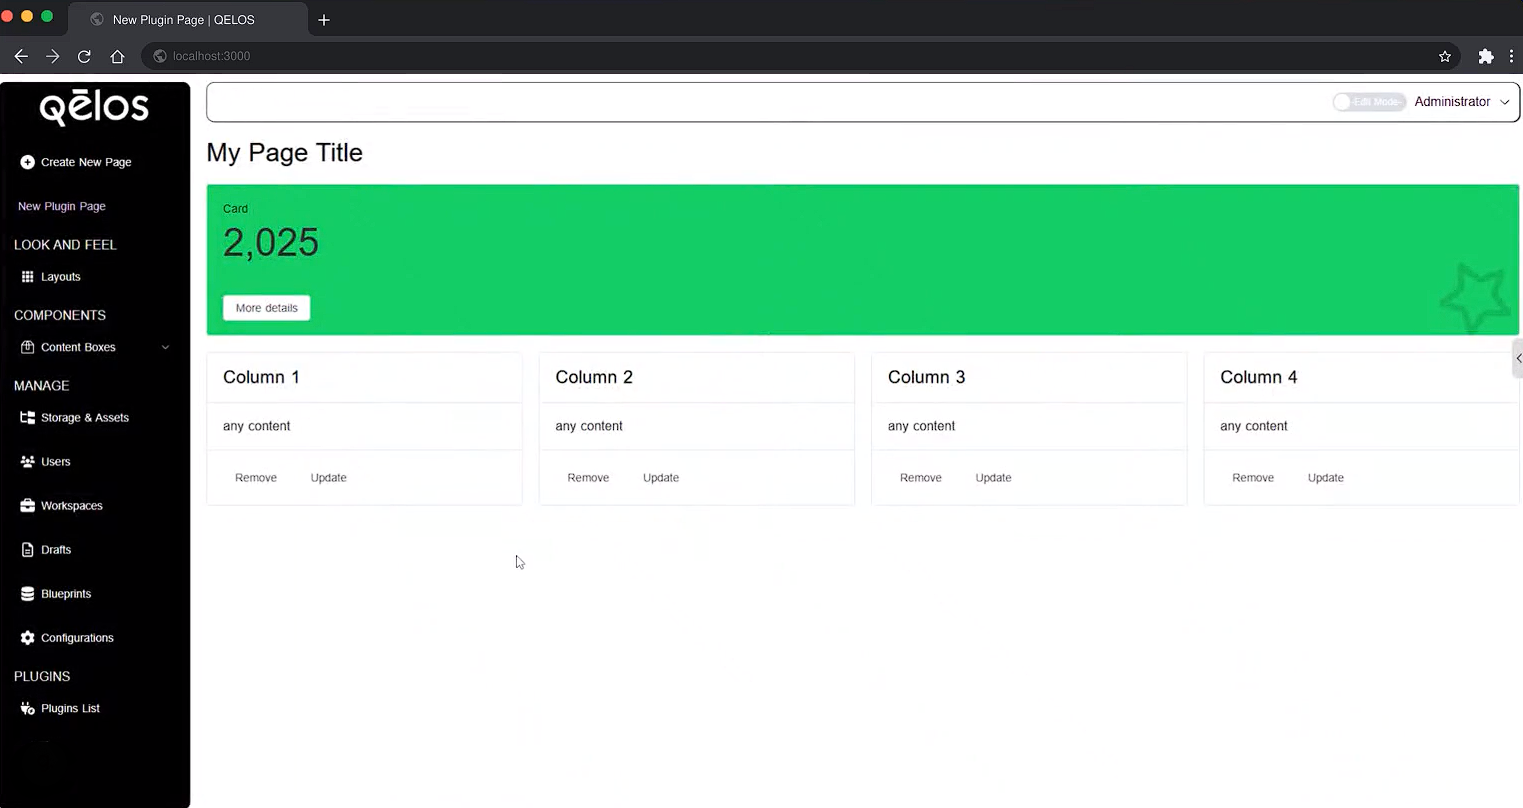
You will now see your statistics card displayed on the plugin page.
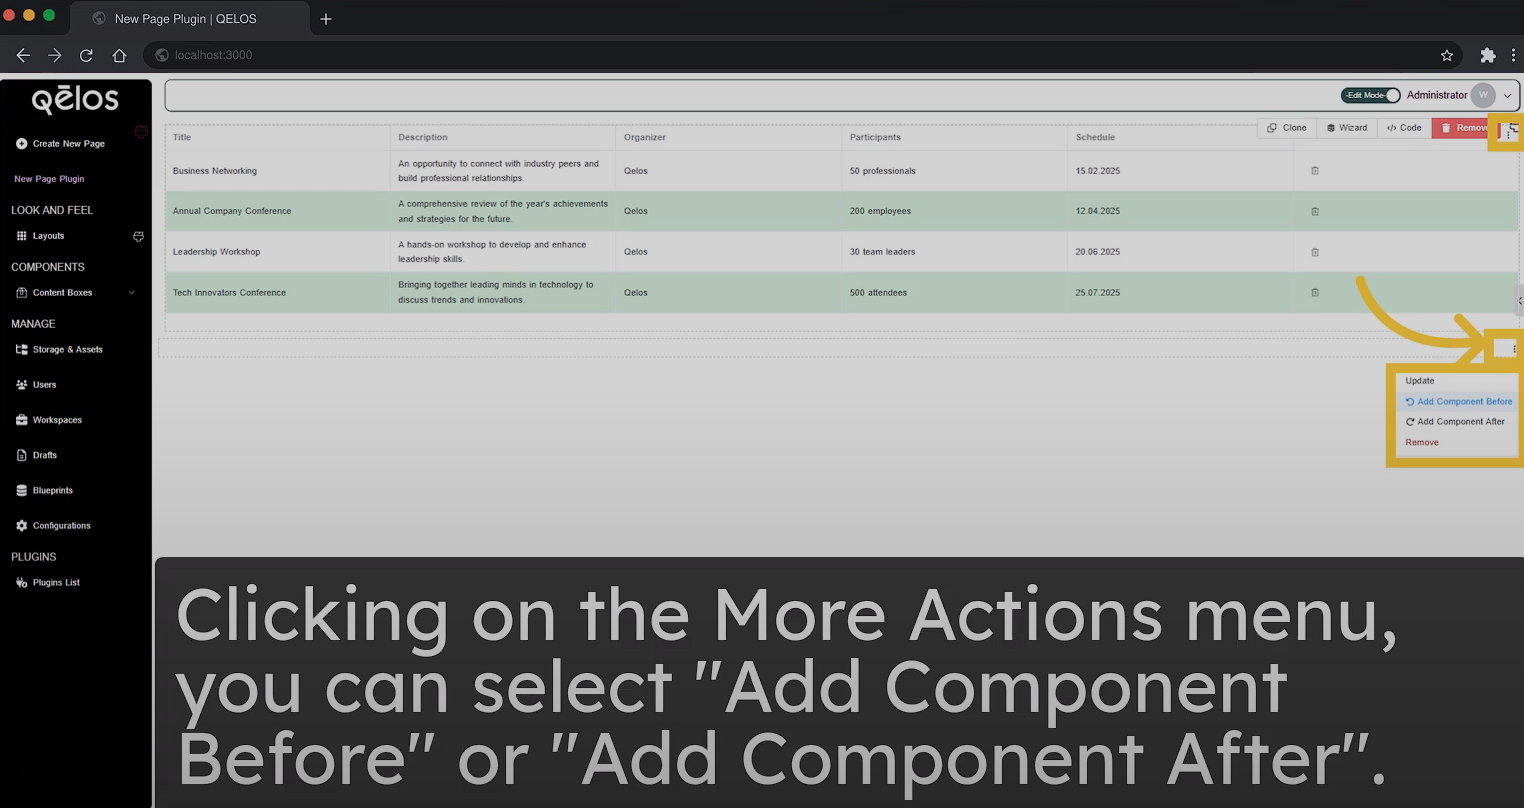
9. More Options Menu and Element Positioning on the Page
You can manage where elements are positioned on the plugin page. To do so, when creating a new element, click on the More Options Menu (the three-dot menu) of the element.
- To create the next element before the current one, select "Add Component Before".
- To create the next element after the current one, select "Add Component After".
After that, choose the type of element (e.g., title, text, chart, table, etc.), and it will be placed exactly where you selected.
